Wall cladding not only protects them from contamination, but also sets the style of the entire room. Decorative panels for the kitchen have many fans because the material can withstand the effects of many factors external environment: high temperatures, drops of hot oil, steam and soot. The proximity of an open fire also does its job, not everyone finishing material
able to cope with such a neighborhood.
What is the maximum strength of aluminum composite? Answer: If your wall is straight and straight, 2mm thickness is sufficient for your kitchen. In case of slight unevenness, the 3mm back wall can better compensate for it. The 4mm thick aluminum back walls can also be used separately as room dividers as they are extremely stable. In general, stronger back walls can be easily removed.
Advantages of wall panels Is the glass plate opaque? Answer: Tiles will not be visible in. kitchen glass Back wall kitchen is designed so that bottom surface
the mirror is no longer visible. I have special requests and would like to make an additional design, right? Call us, write to us. The next nuance that distinguishes kitchen space from other rooms in the house - risk mechanical impact
: pots can fall, plates can break into pieces, when cutting meat, a large piece can hit the wall surface, etc. Not every coating can withstand such a load. The price of decorative panels is in the middle between the cheapest cladding and expensive wall finishing options. A huge range of products expands the scope for creativity of designers. With the help of such products you can create unique style in the kitchen, organically combining high quality
repairs and its affordable budget. Working Step If the new plates are not the correct length, cut them with a circular saw to measure. Exact lengths have already been determined. Start with the longer side. Place the cooker on the work panels and use the manual circular saw
Working Step You can also specify the cutting position of the stove. Place hob to the center and draw an outline. Then place the plate back on the working blocks. Working Step Before cutting the notch, you need to press the edge. Working Step After the iron is ironed, the lugs of the grinding machine are pushed away with a sharp chisel. Use a flat file or sandpaper to smooth the edges.
Classification of cladding panels
Decorative Wall panels for the kitchen have the following characteristics:
- Wide choose color scheme;
- Lots of textures;
- Easy installation;
- Affordable price tag;
- An excellent combination with any building and facing materials.
The hygiene of this material distinguishes it from lining and sheets of drywall.
Working Step Measure the overhang to cut out the cooking area. The cut should be smaller than the recorded outline. Draw the cutting edge inward. Working Step Drill holes in the four corners of the cutout to insert the saw blade and turn the saw at the corners.
Working Step Use a suitable tabletop saw blade, otherwise you will not get a clean cutting edge. Now you need an assistant to take the sign below; Otherwise, it may bend or fall uncontrollably when sawing. Then place the plate back into the cabinets.

The division of decorative panels into groups is due to the presence of several determining factors:
- method of closing the wall surface;
- kit or fastening option;
- raw materials used in production;
- product price.
Decorative panels can cover 30 or 100% of the wall, which causes their division into supporting and tall types. The method of installation or fastening option divides products into slatted, sheet and tile categories. A variety of materials can be used in the manufacture of panel products: wood, MDF or Chipboard boards, matte and mirror plastic, drywall, etc.
Working Step Now cut the second measurement plate. If the edge is particularly clean, simply rotate the plate and see from the back. Then rewind the edge edge and remove the supernatants. Then place the finished plate on the stands and level it. Now comes the cut for the kitchen sink. Place the sink in its final position on the work surface and accurately level the basin. Mark the position around the circle with crepe tape. This can be easily removed later.
Then remove the shell and apply a second strip of crepe tape to the first. Now measure the width of the edge of the sink. This is the distance from the edge of the shell to the cutting edge. You can now record the cutting edge on the inner tape. Use a carpenter's angle when drawing to make the cut straight and straight. Place the plate on the working blocks, drill holes in the four corners and remove the cutout using a jigsaw; allow yourself to get rid of your help from the cut panels. Now paste kitchen sink into the cutout and make sure everything fits.
Slatted decorative panels for the kitchen are similar in appearance to lining. Products can be found in any size, which expands the scope for the craftsman’s imagination. The most important thing is to choose the mounting option for the slats: horizontal, diagonal or vertical. The tile material is rectangular tiles different sizes. The more individual elements, the faster the wall is covered with facing products.
Working step You must protect the cutout from moisture. You can do this with silicone, for example. Apply silicone to the cut surface into the cutout. Working step Then spread the silicone over the surface with a spatula. All areas must be coated with silicone. Then let the silicone dry.
Working step. The kitchen sink must be prepared for installation. First, assemble the drain and overflow. To do this, insert top part valve with the seal from the inside into the sink drain hole and place the bottom of the valve with the seal on the bottom side. Then screw the top and bottom pieces from the inside with a threaded screw. Place the overflow with the seal inserted over the pool drain hole. Draw the length of the bypass pipe so that it can still be inserted about 2 cm into the connecting pipe on the bottom of the valve.

Important: rack and pinion tile panels must be secured to the sheathing using nails or clamps.
Only sheet decorative panels can be fixed to the wall with glue. Knowing the features of each type of panel, it will be easier for a beginner in the repair industry to navigate the market facing materials and make your difficult choice.
Then shorten the overflow pipe to the required size using a metal hanger and clean the cutting edge. Apply lubricant to the connection and insert the short end of the pipe into the connecting pipe. Align the overflow and screw with inside basin using a threaded screw.
Requirements for the design of a working wall in the kitchen
Working Step To attach the pool, the included brackets are inserted into the notches of the raised edge; claws point outwards. Then insert the cord at the edge of the tank. Working Step Glue the soundproofing panels to the bottom of the pool and drain hole. They reduce water noise and dissipate heat from the metal surface. Then insert the basin into the cutout and insert it with the staples inserted: always tighten the pair of clamps with their clips facing each other - then the basin moves evenly towards the workbench and cannot become deformed.
Features of each type of panel
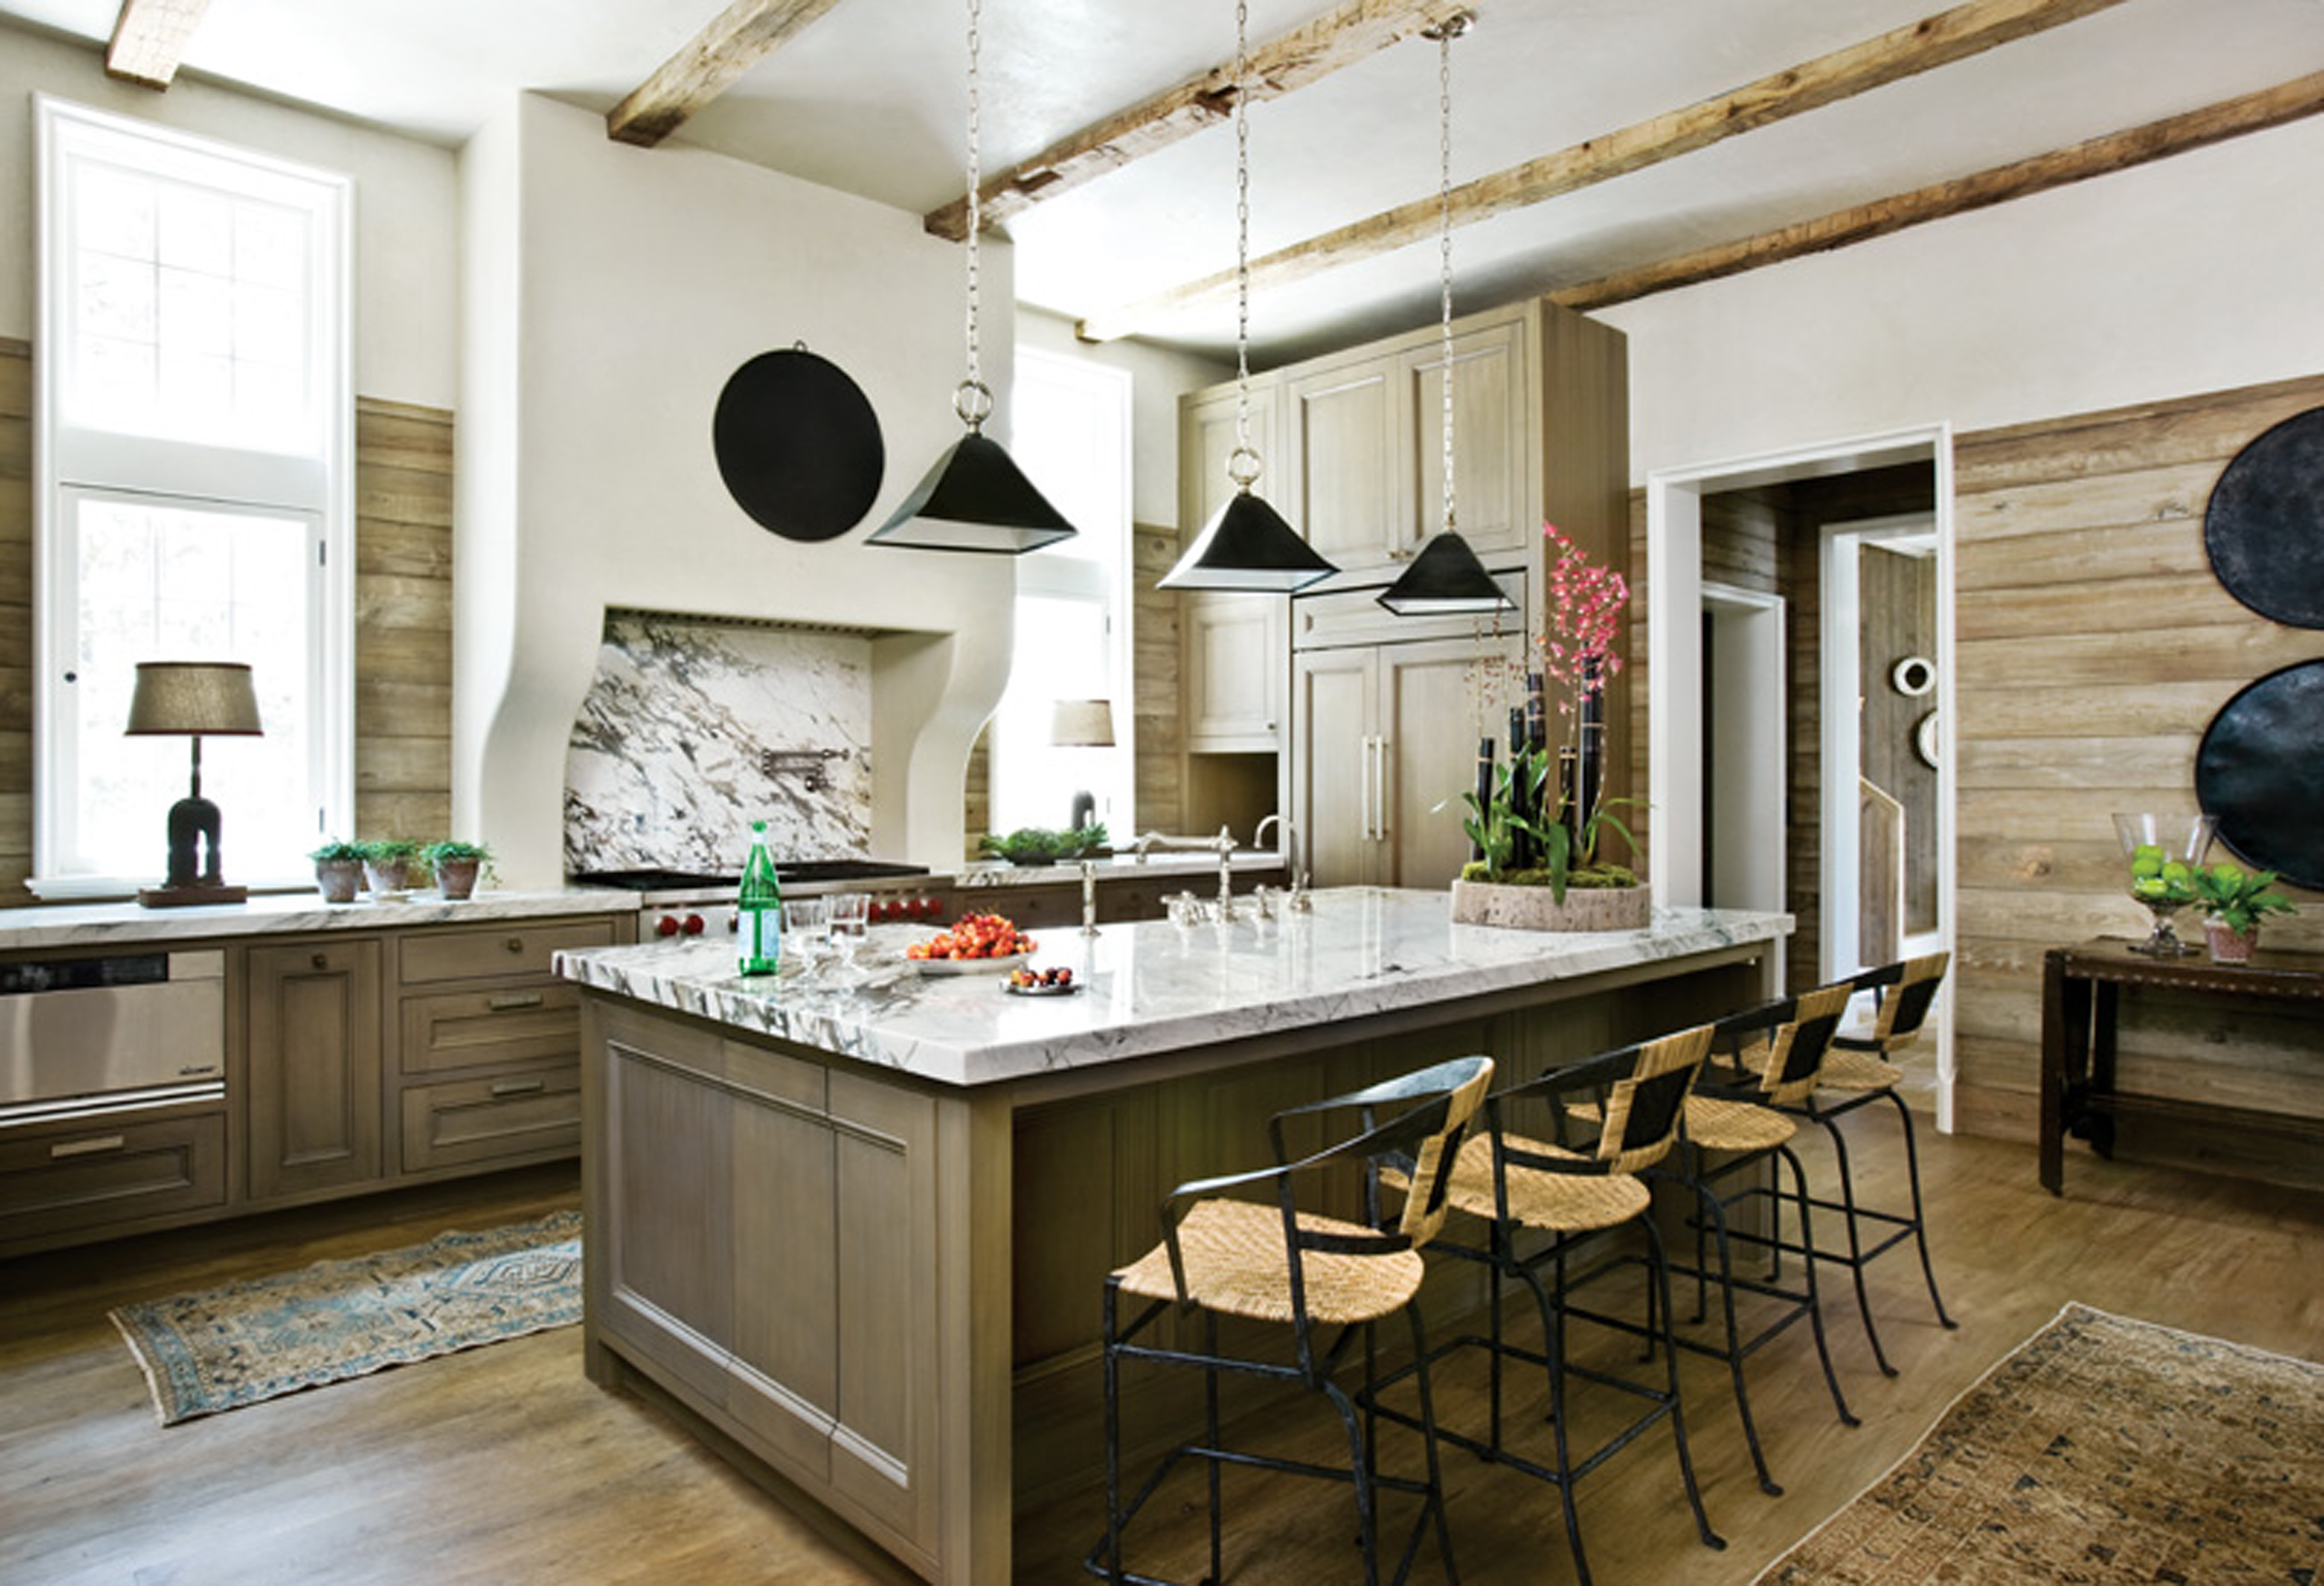
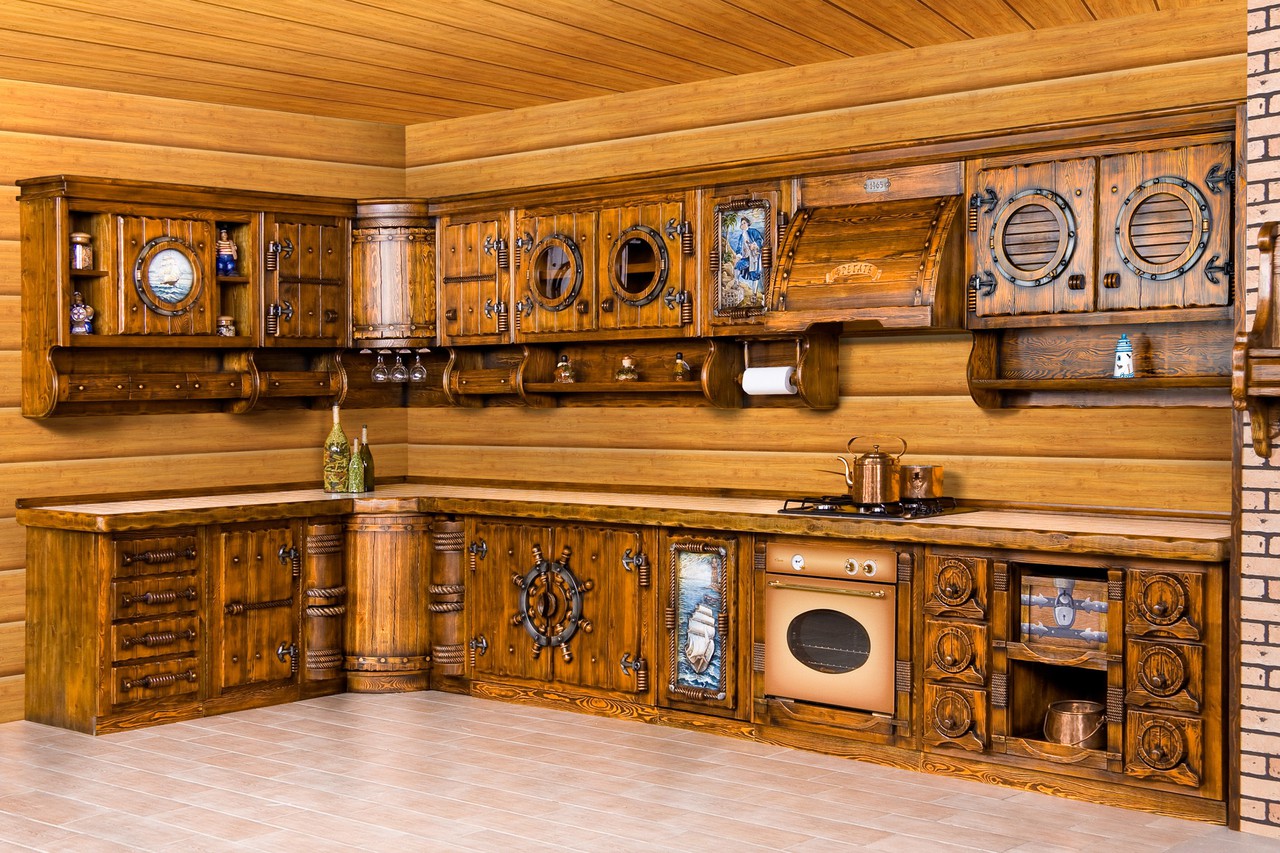
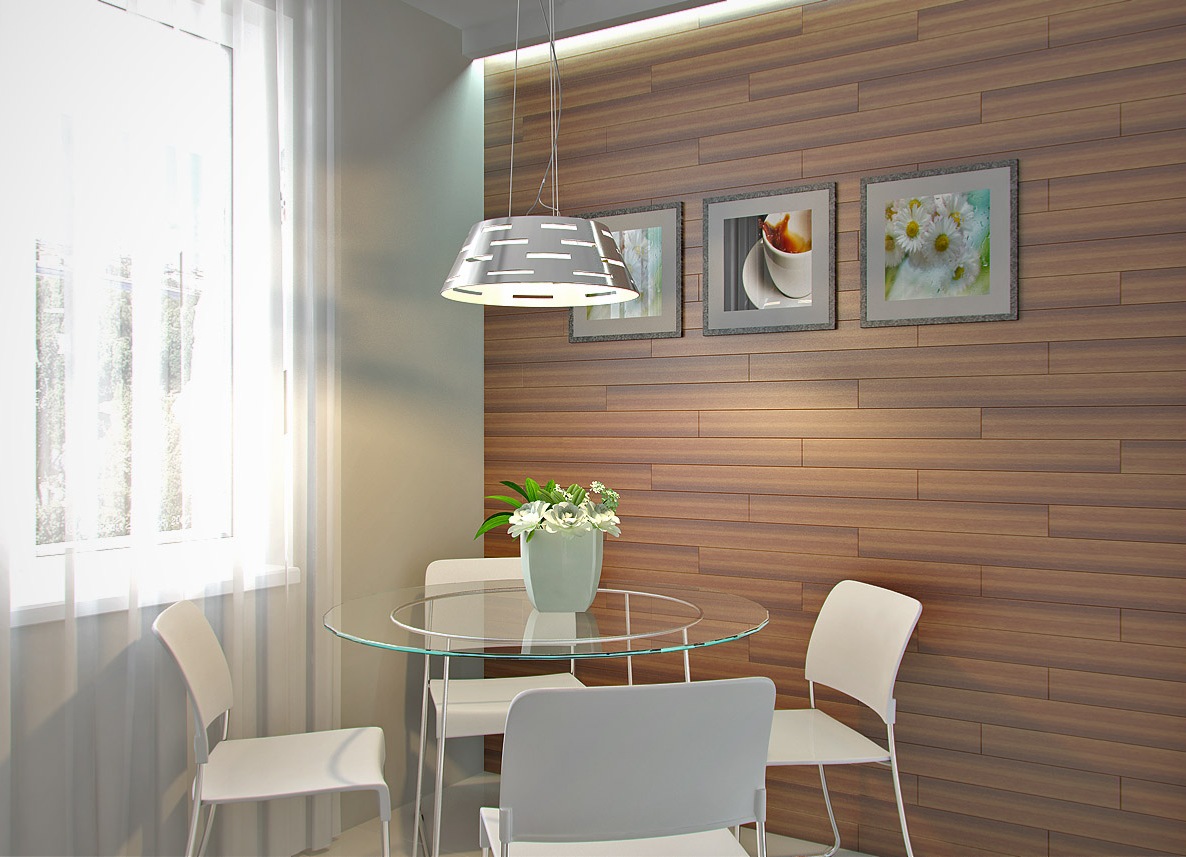
Wooden panel structures can be made from natural massif or veneered wood. Both options are very attractive from the outside; the atmosphere of the kitchen with such cladding turns out to be warm and truly homely. Some craftsmen may be wary of the hygroscopicity of wood, which leads to the formation of mold and fungal growth. But there is no need to panic: the manufacturer knows about the specific properties of the raw materials and processes finished goods special impregnating and protective compounds.
Install the fitting at the same time. When the plate is placed in cabinets, fitting installation becomes difficult. Tighten the connecting hoses on the underside of the fitting body by hand. Screw in the two threaded rods by hand and tighten them with a screwdriver. Working Step Insert the connecting hoses and fitting foot into the outlet hole, attach the stabilizer plate and metal ring at the bottom, and screw everything in place with two nuts on the threaded rods. Check the fitting alignment again before tightening the screws.
Perhaps she was twisted. Working step in the area dishwasher It is necessary to protect the front edge of the work surface from water vapor. For this purpose, aluminum sealing tape is glued together. The oven is also equipped with an aluminum sealing strip. Hot steam is also generated here, which damages the unprotected work surface.
Important: when purchasing wooden decorative panels, you must carefully study the product - both sides of the material must have a wax coating.
Installation of wood panels is not carried out close to the wall; it is necessary to leave a gap for ventilation. This way the durability of the finish can be significantly increased.
Working step Gusset two working surfaces are made with a connection profile. Apply silicone to the cut surface to seal and distribute evenly. Now install the connecting profile so that the rounding of the profile matches the rounding of the adjacent slab.
Secure the profile using the included wood screws. Working step Press the second plate next to the first plate, the connection is ready. Working step Both panels are screwed to the bottom of the cabinets. Working Step Screw in the fitting connecting hoses along with the corner valves and connections to the storage tank hot water. Pay attention to the correct distribution of the connecting hoses.

Cheaper natural wood panels made of boards (MDF, chipboard, fiberboard) protrude. If we compare products made from solid wood and MDF, the latter have higher quality characteristics: excellent noise insulation, low thermal conductivity, high quality and fire safety.
Dekton is a material that can be used very versatile. For example, as a work surface for kitchens, floor coverings or wall and façade cladding. Dekton is a high quality and durable material, which is made from a mixture of glass, quartz and stone in a special process with the product and thus meets high requirements for durability and reliability. Thanks to ultra-compact materials, Dekton is very smooth and extremely resistant to breakage. For example, as a work surface in high-quality kitchens, as a durable and stylish flooring, or how modern wall or façade cladding.

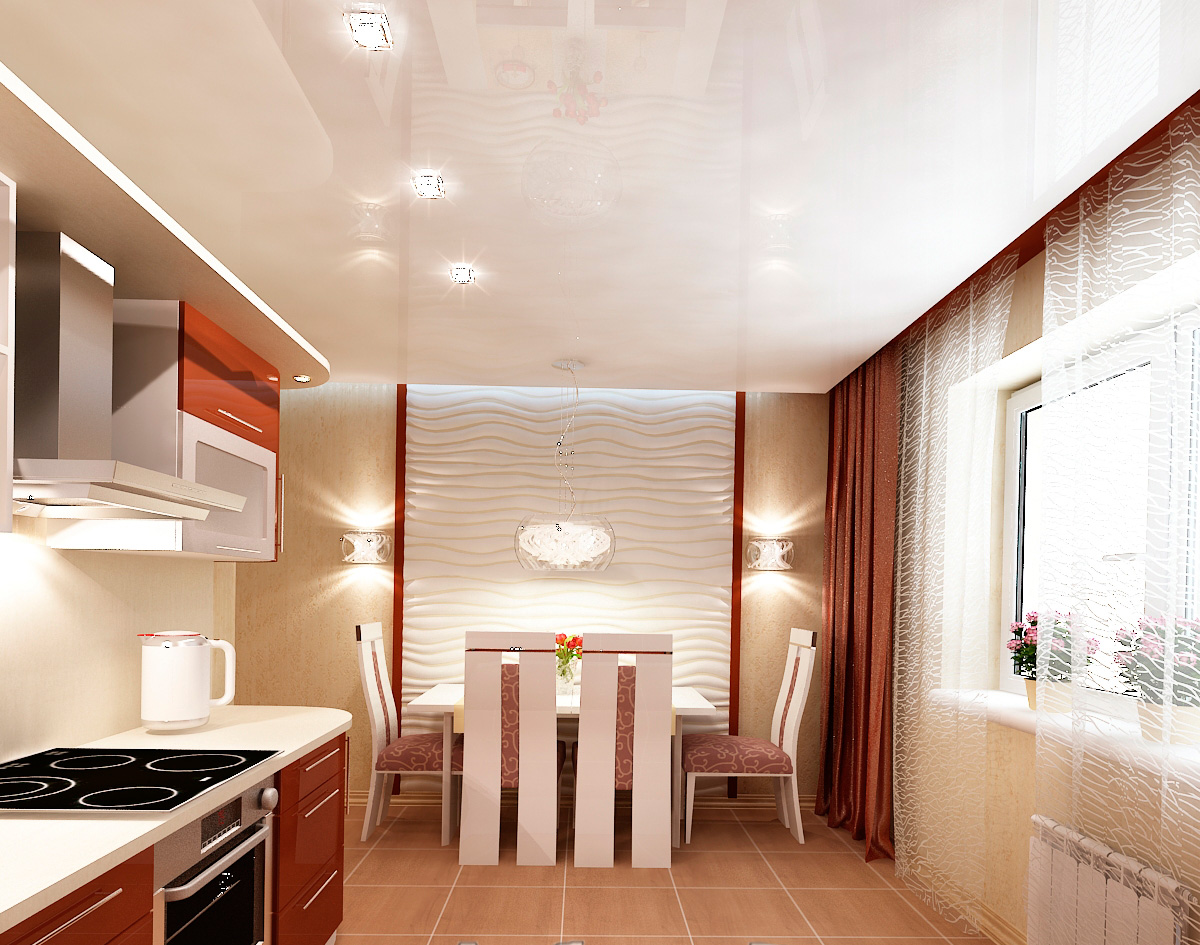
MDF wall panels as a working apron for the kitchen are the most economical solution
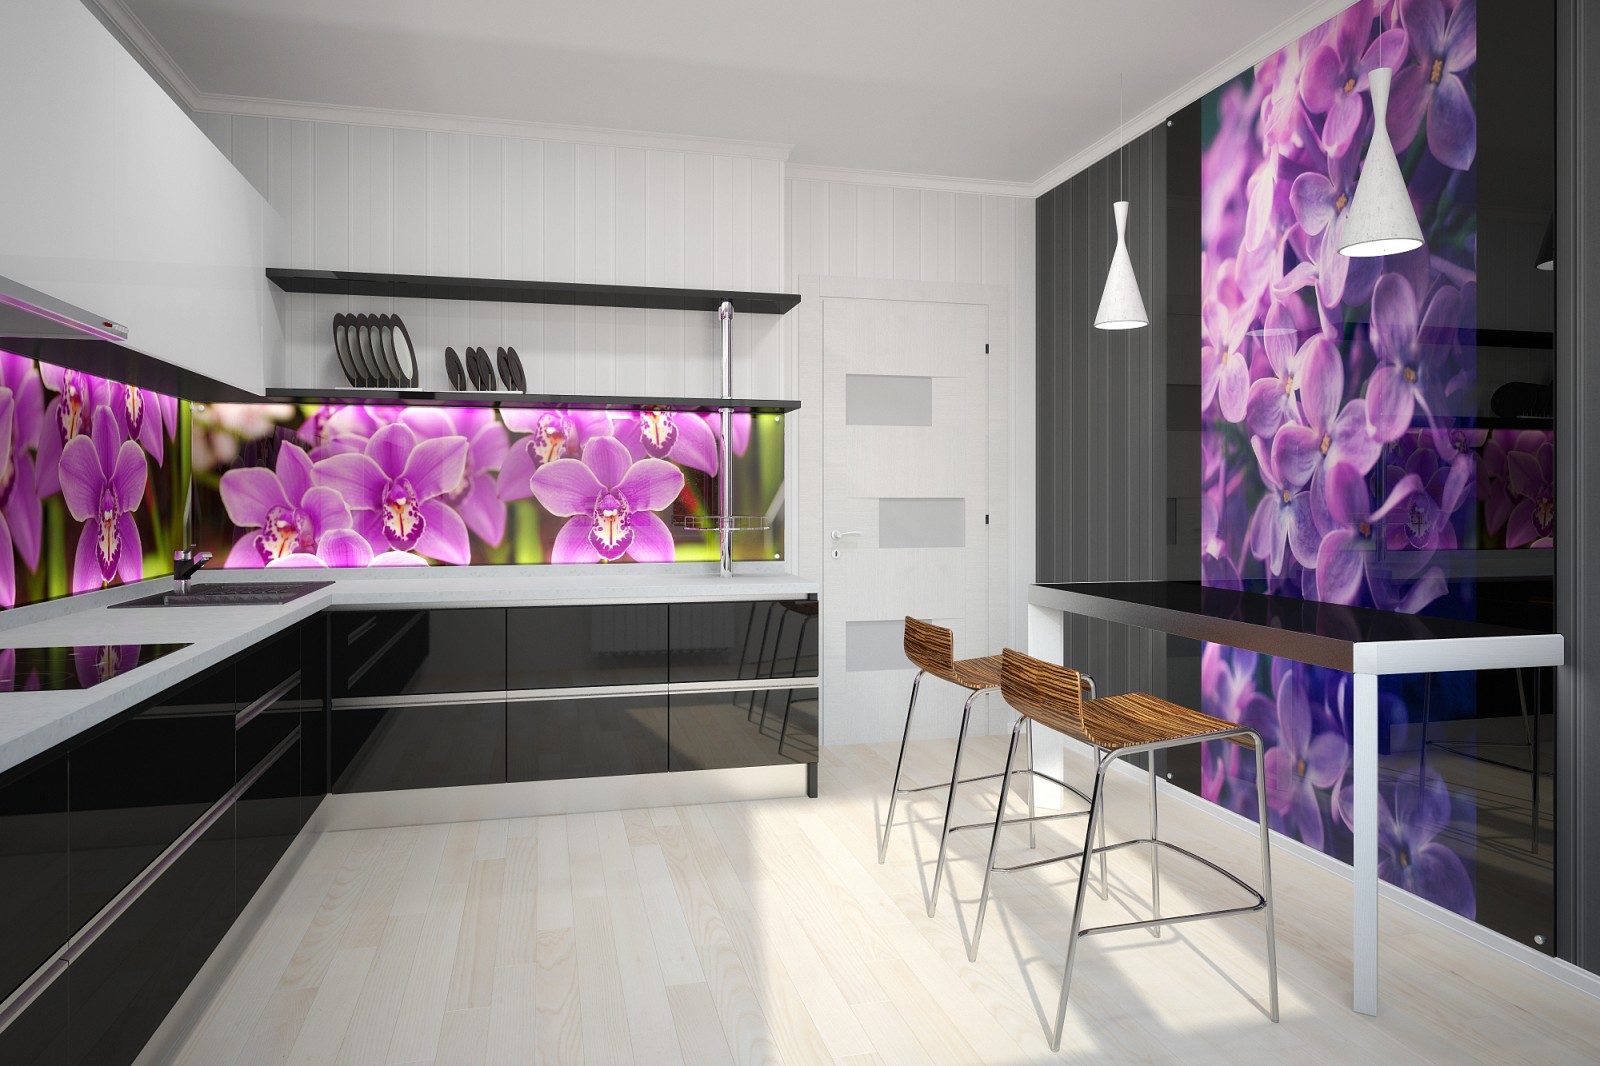
Panel fragments made of plastic are made from durum varieties polyvinyl chloride. About PVC products and a lot of their advantages, volumes of construction literature have been written. Manufacturers produce slabs that have a smooth glossy, rough or embossed surface. Imitation natural materials(stone, leather, valuable species wood, etc.) significantly expands the range of use plastic panels in interior design.
Can't decide whether you paint the wall with paint, wallpaper, or just plaster? How about a Dekton alternative? With Dekton, walls can be dressed up for interiors and exteriors. It all works simply by simply gluing the Dekton slabs to the respective walls using an adhesive system. Cement can be applied directly to external plaster or to an internal wall, no additional fastening is required.
In this case, reinforcing elements are additionally used for gluing with adhesive cement to securely fasten the panels to the wall or facade. This is a suitable method, especially for large areas. First of all, when floors are subject to high loads, Dekton is good way equip rooms or exteriors with long and durable flooring.
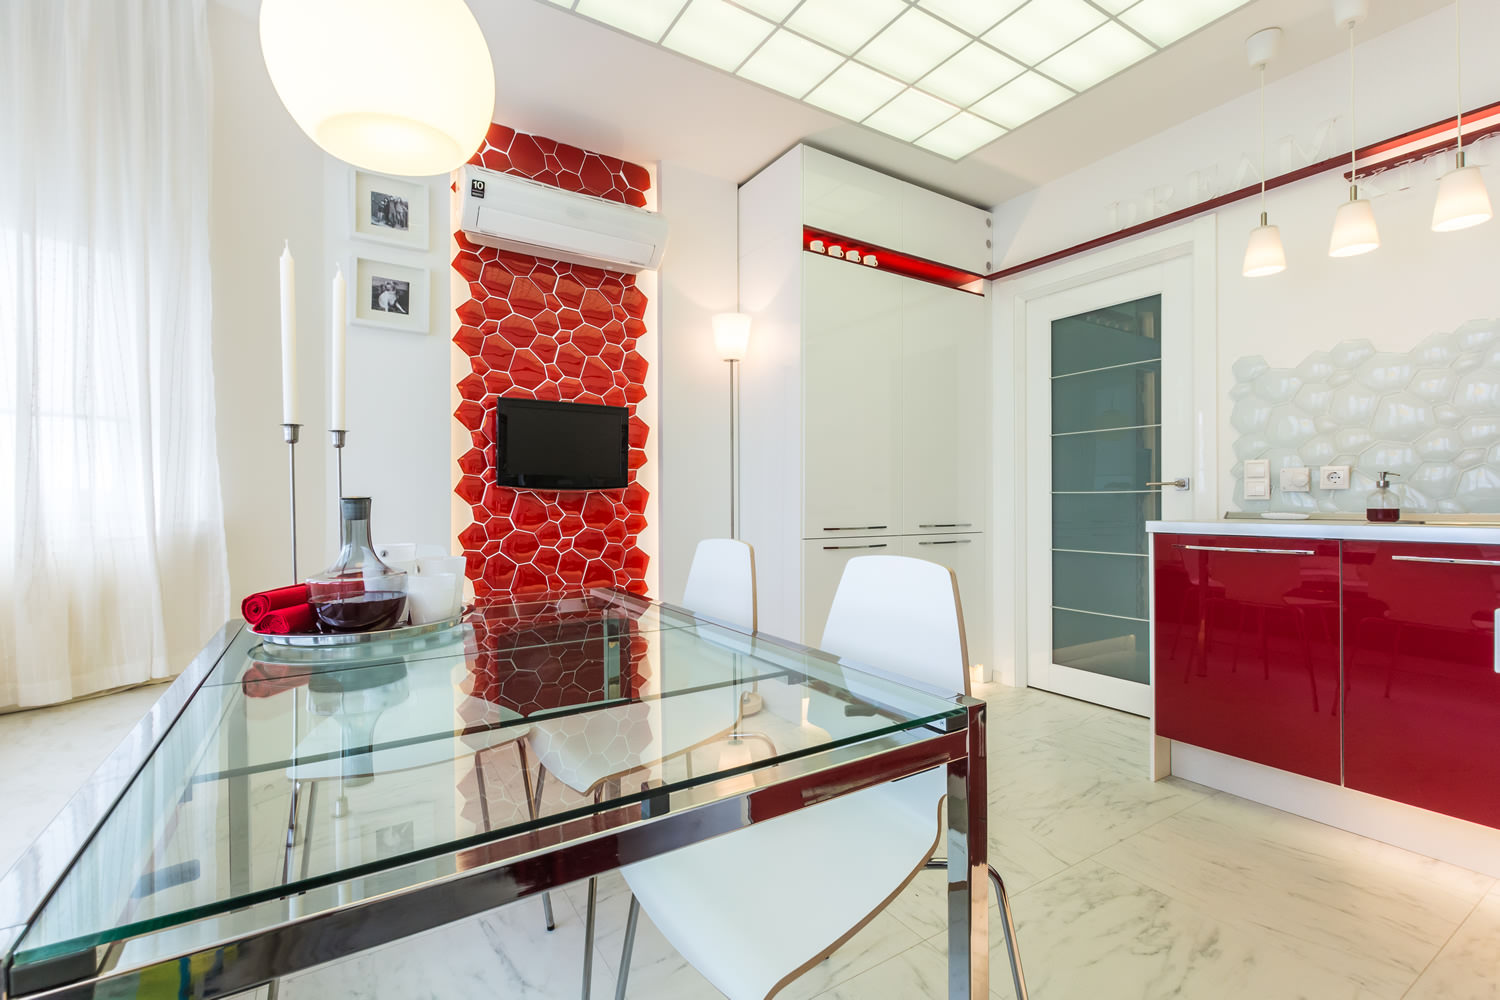
Plastic mirror panels are polystyrene plates on which mirror film. The obvious disadvantage of this material is its low moisture resistance, so it is rarely used when decorating kitchens. But designers have found a slightly different use for these products - they can be glued to the wall opposite work area with countertop and sink.
Due to its material properties, Dekton is particularly resistant to abrasion and therefore withstands high voltage that arise daily. Dekton is also used for ventilated facades, which are not only functional and energy efficient in modern buildings, but also optically modern. Ventilated facades are available in three versions. A ventilated facade is suitable for cladding a building by connecting it to the facade substructure. In the second option, the material is simply glued directly to external wall strong and very strong adhesive.

Decorative panel structures made of plasterboard for cladding kitchen walls used quite often, this is due to the covering of the front side of the material with PVC film. Plastic has a certain degree of moisture resistance.
The choice of this or that material for finishing kitchen walls rests with the master, who proceeds from his needs, desires and renovation budget.
Additional mechanical fastenings provide additional security. In the so-called curtain facade, Dekton is used as an alternative to covering building elements or insulation. Height and depth of the working surface. When working while standing on a work surface that is too low or too high, a person is forced into an incorrect physical position. Because the the average size people are constantly increasing, it is useful that the height of the kitchen work surface can also be adapted to the user's requirements.
Subtleties of proper installation of decorative panels
Decorative panels for kitchen walls can be installed independently, but with strict adherence to technology. Knowing some nuances greatly simplifies the process and increases its efficiency:
- plastic panels are sensitive to temperature heating - if the air in the kitchen is heated to a temperature above +40°C, the 3-m length structure increases lengthwise by 1 cm. This must be remembered when implementing installation work in the cold season;
- The sheet panels are not inserted tightly into the grooves of the guide profile; it is necessary to leave 5 mm at the bottom and top. This measure is also a preventive measure in case of thermal deformation of the finish;

In addition, this leads to more comfortable work. It is important to set the height of the tabletop in advance, as this also affects the position of nests, upper cabinets and wall mount hoods. The traditional basket depth of 60 cm has now evolved into more ergonomic baskets with greater depth. Using cabinets with greater depth allows for lower positioning of upper cabinets that can be attached to an ergonomic height. - With a traditional depth of 60 cm, the distance between the worktop and the upper cabinet should be 54 cm to ensure sufficient visibility of the work surface.
Important: experienced finishers assure that when performing repair work in winter or hot summer any PVC material after purchase it must “rest” for room temperature 2-3 days. This is how it acquires its normal parameters of natural expansion.
- Considering the above, it is best to install wall panels in the off-season period - in spring or autumn.
This, however, makes it difficult to view content or delete objects, and also causes a feeling of narrowness. Its content is thus more manageable and accessible to achieve. In addition, the feeling of tightness is reduced and you have best review working surface. Content top cabinet is now completely visible and the top compartments are easily accessible. In conventional kitchens, the back of the work surface is not used in a conventional cabinet. This is due not only to the use of an additional channel, but also to convenient, practical and functional containers, which are ideal for the work surface.
Panel wall installation
Decorative panels for the kitchen must be installed in a certain sequence, performing important operations step by step:
- choice of color scheme for the material and its type. A huge store assortment gives a chance to reveal the artist’s creative potential to the fullest;

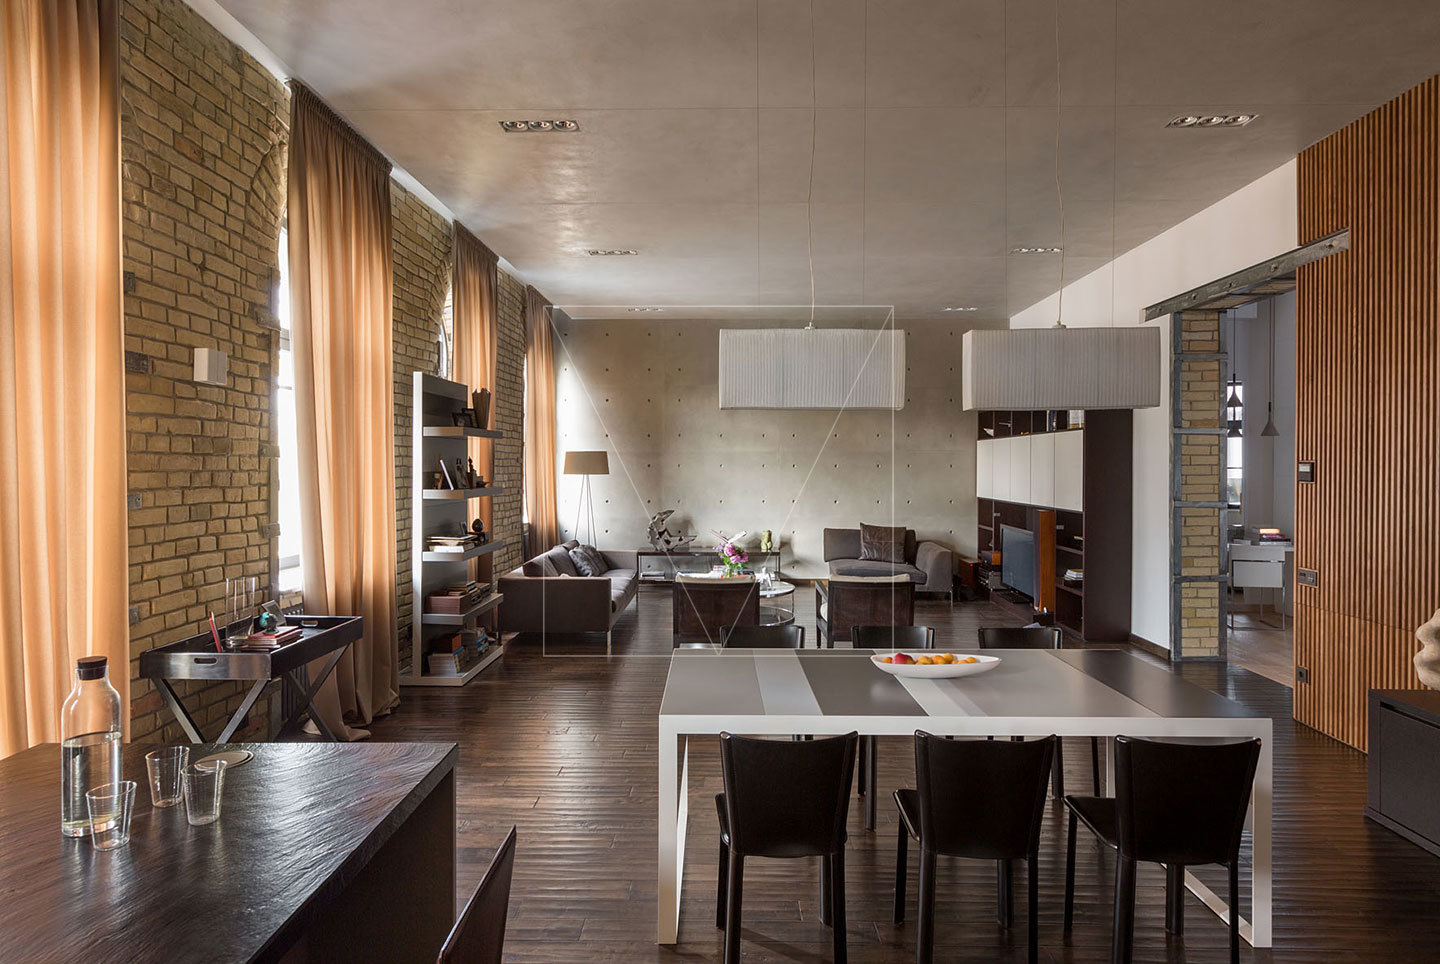
Important: the combination of textures and colors is an original design move. The combination of horizontal dark and vertical light cladding with slatted products looks interesting.
- Calculation of material consumption. This is not difficult to do if you know the area of the wall to be sheathed plus small allowances just in case;
- determining the volume of moldings to join the products to each other;
- production of sheathing from slats with a section of 25 x 40 mm;
- installation of the lower and upper rack profile, correct fastening must be monitored building level. Next, intermediate slats are attached in 60-cm increments;
- the first panel is installed from the corner, strictly vertically and secured using a construction stapler;
- The material is fixed using self-tapping screws;
Important: some manufacturers of decorative wall panels complete their products with special plastic brackets. They are reliable, lightweight and easy to use.
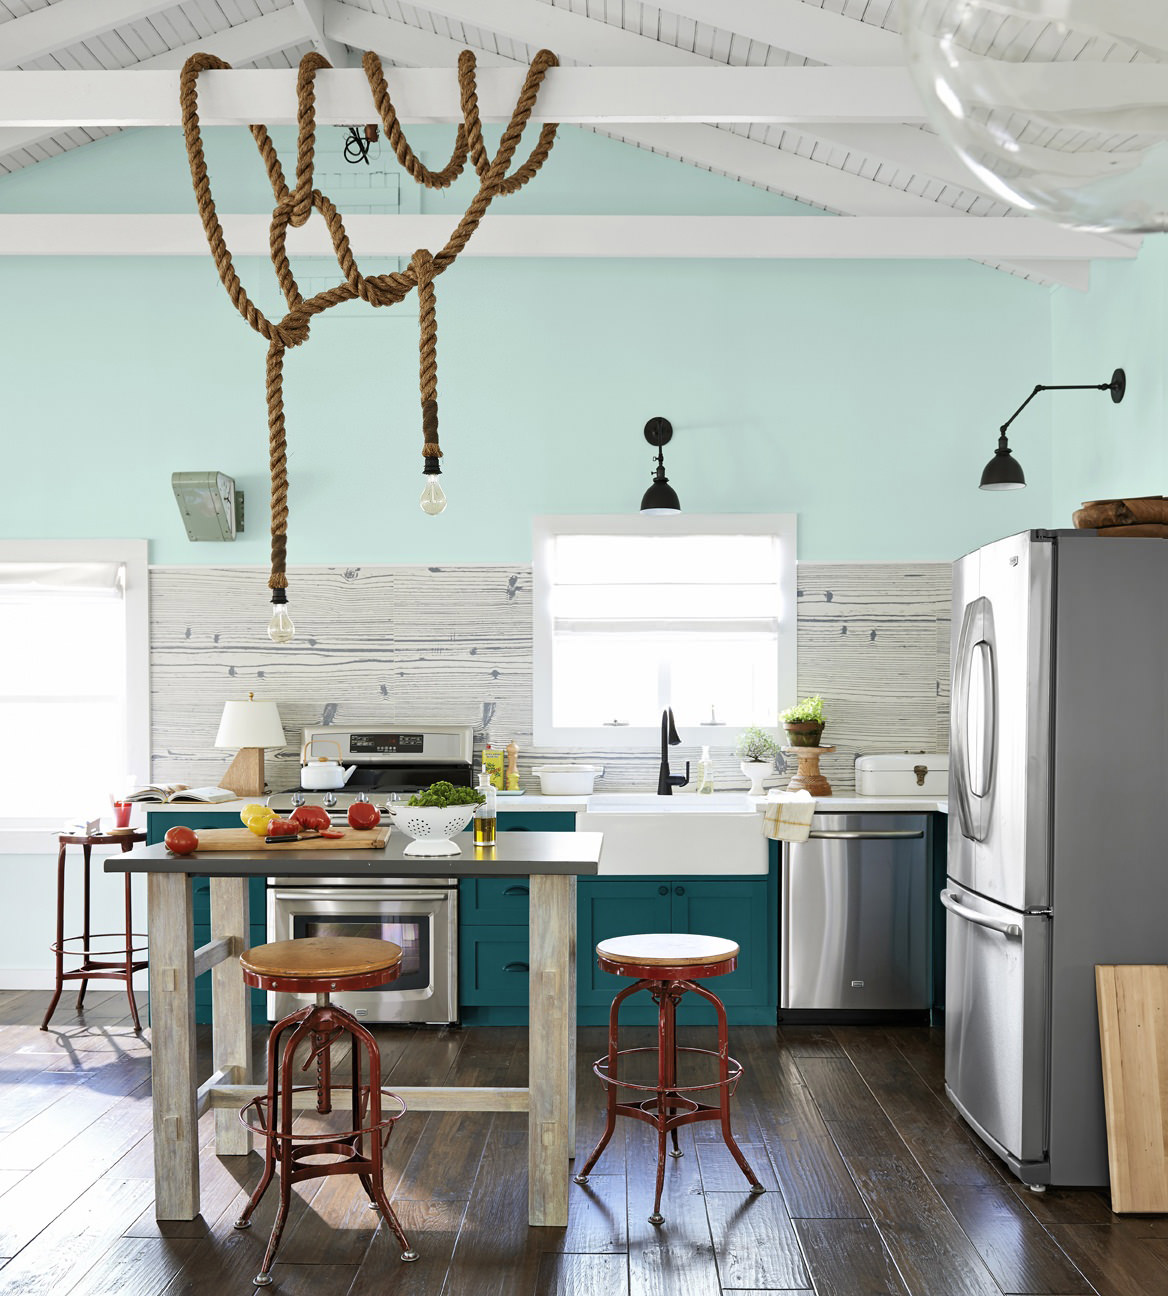
look after installed panels simple - a damp cloth and a light cleaning solution . Beautifully matched kitchen style the products not only decorate the space, they protect the walls from humidity and hot air.
Photo gallery

Video


