New Year- a magical and long-awaited winter holiday that we look forward to every year. New Year's homely atmosphere, Beautiful festive table with different goodies, bright garlands and colorful tinsel, and most importantly a fluffy Christmas tree - forest beauty. Every year we try to buy some new toy for our New Year's guest, a toy with the image of an animal whose year awaits us is especially relevant. Here's to next year 2015 eastern horoscope will be the year of the Sheep and Goat, therefore, it is these animals that should be depicted on New Year's Christmas balls. You can buy ready-made balls, but, you see, it’s much more interesting to make them yourself. When creating this Christmas tree decoration, you can use different techniques handicrafts, we will use the decoupage technique. The good thing about it is that you can decorate any product you want with a picture you like. In decoupage, you can use napkins, decoupage cards, mulberry and rice paper as decoration.
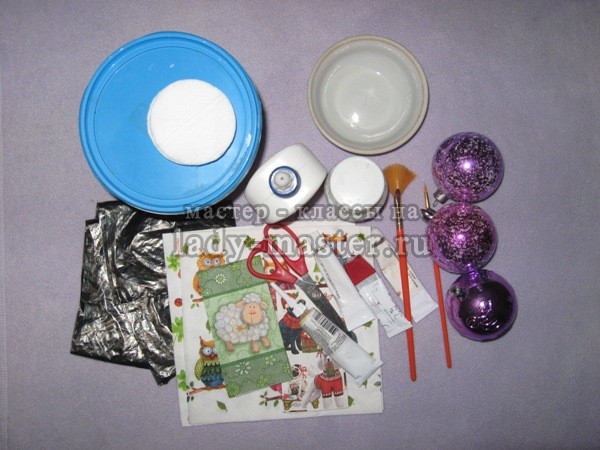
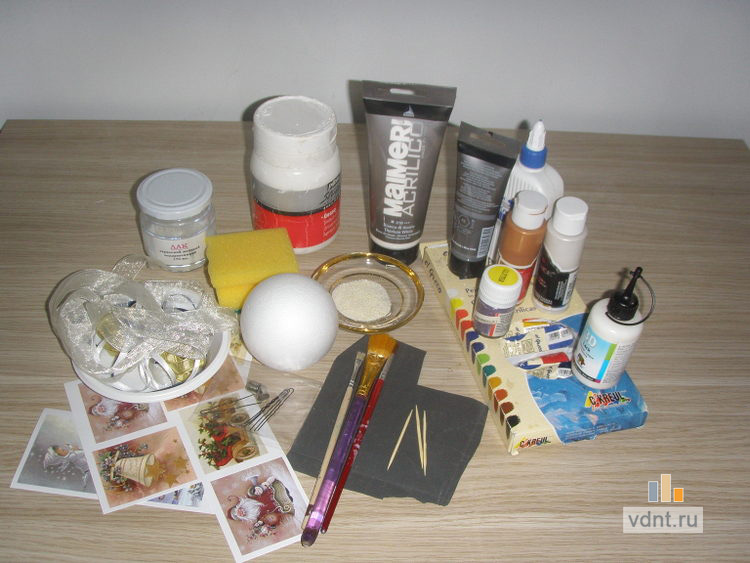
This master class will teach us the decoupage technique and help us make three New Year's balls for the Christmas tree. For MK we need to take the following:
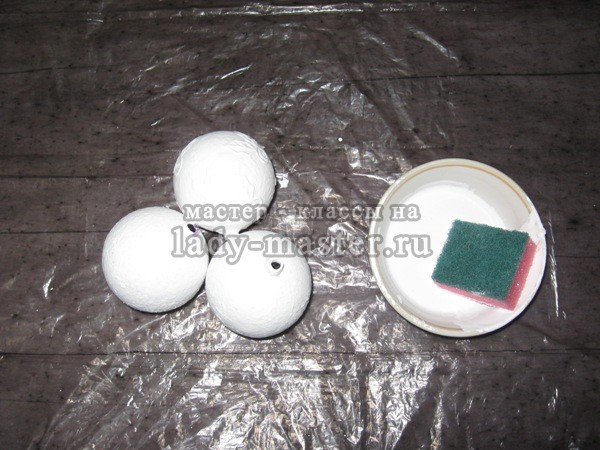
Three plastic ball diameter 5-6 cm;
White acrylic paint;
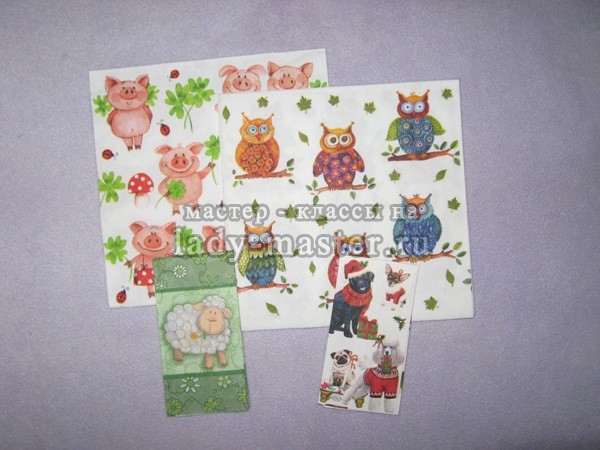
Three napkins for decoupage with different animals, including a sheep;
Foam sponge;
PVA glue;
Decoupage brushes;
Gold outline;
Paint container;
Bag or oilcloth;
Scissors;
Decoupage varnish with a glossy texture;
Satin narrow ribbons for eyelets.
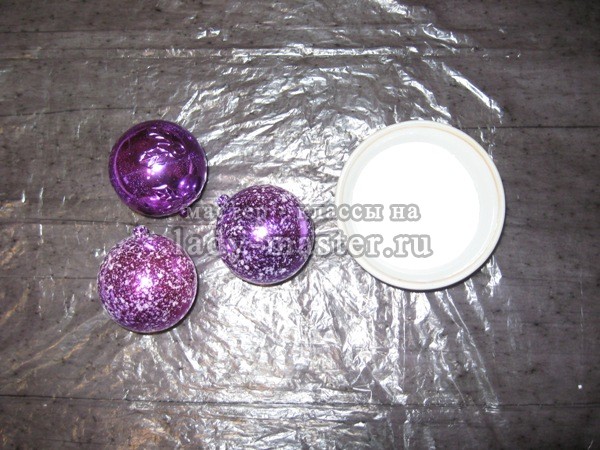
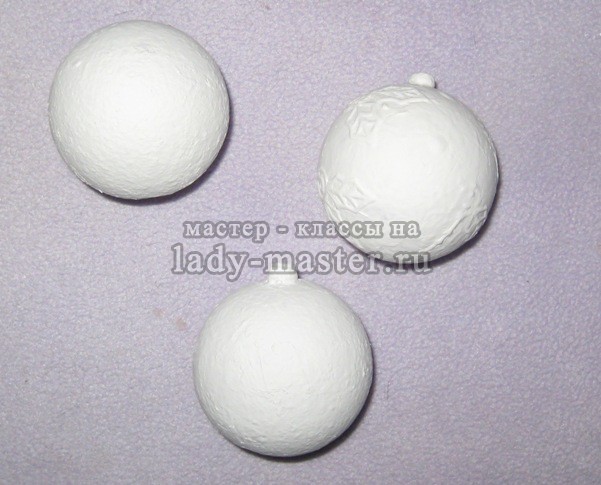
The working surface must first be prepared so as not to get dirty during the work; for this we cover it with a bag or oilcloth. Let's pour white paint into a container, add about 15-20% water to the paint, mix. Cut off half of the foam sponge and start painting all the balls. First we painted the first layer and dried it well. To speed up the drying process, you can use a hair dryer.
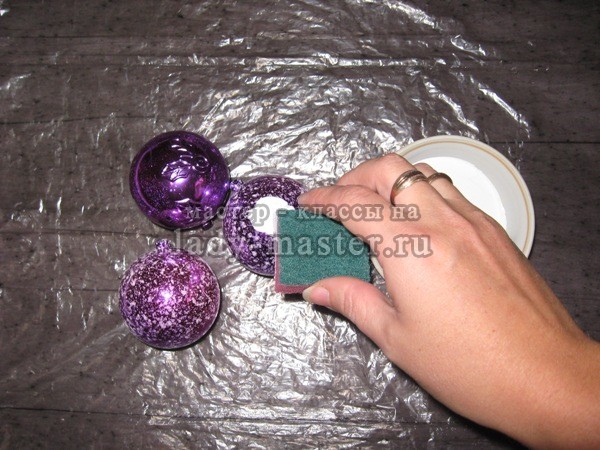
We paint the balls with a second layer of paint and also dry them with a hairdryer, holding the ball by the top neck. We apply the third layer, since we took the balls purple, then it’s better to play it safe and paint it in several layers.
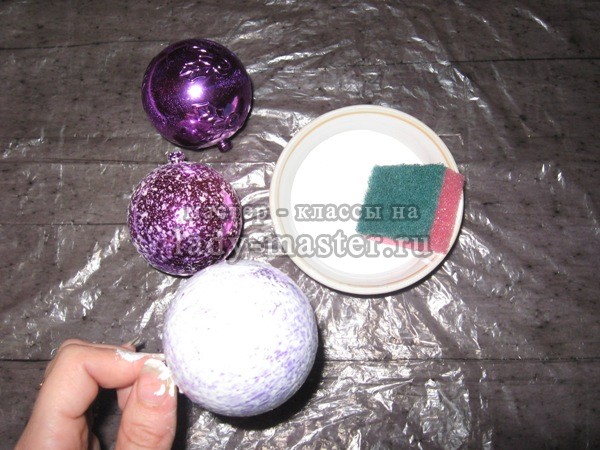
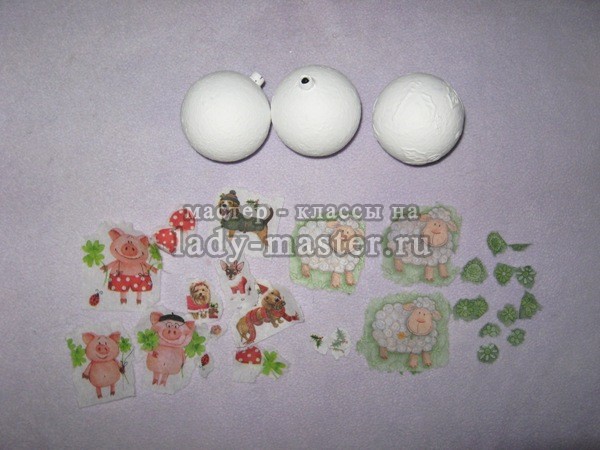
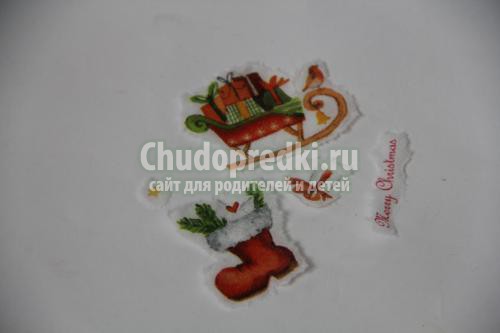
All the balls are white and dry, now you can start decorating. We take three napkins with animals.
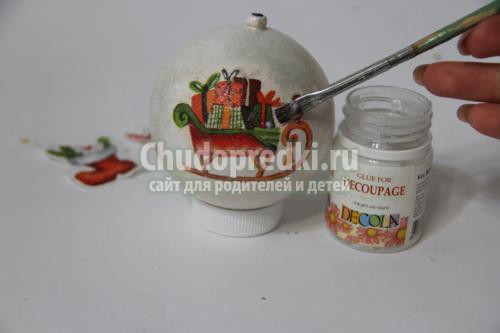
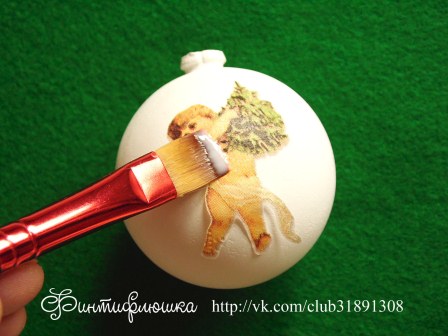
Carefully remove the topmost layers from each napkin, and remove the two lower white layers to the side. Now we cut off the pictures with which we will decorate the balls. We take decorative fragments from a napkin with a sheep. We attach the first piece of the picture with the sheep. Wash the container of paint and pour it into equal shares PVA glue and water, mix. We will use this adhesive mixture to glue the napkin to the ball. Dip the sponge and glue the sheep to the ball.
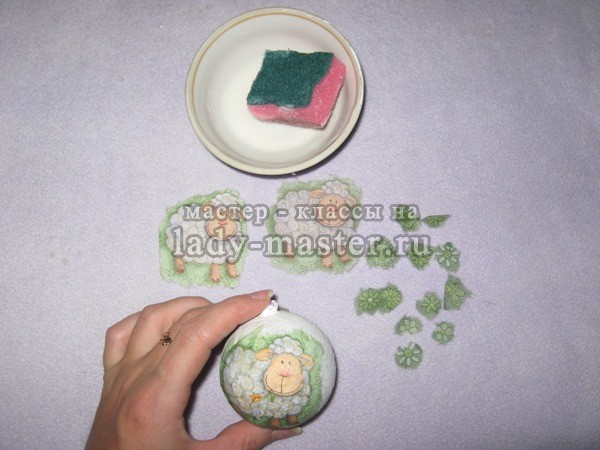
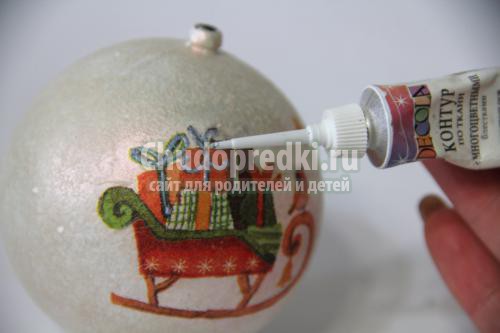
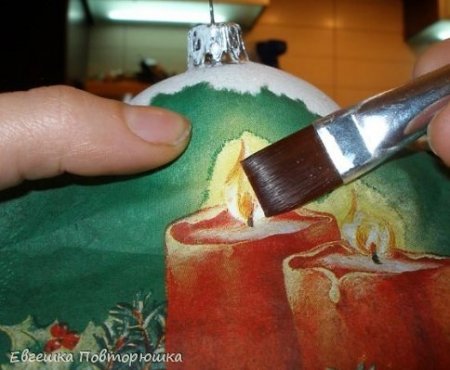
Then we apply the next lamb in a circle, then one lamb. Glue small pieces of napkin onto the remaining areas of the ball. We dry the ball with a hairdryer, trying not to touch it so as not to tear the napkin. We decorate the other two balls. We also dry them completely. On some balls we draw snowflakes with a golden outline. Now we coat all the balls with glossy decoupage varnish. To do this, take a fan-shaped special brush. Cover with the first layer and dry.
![]()
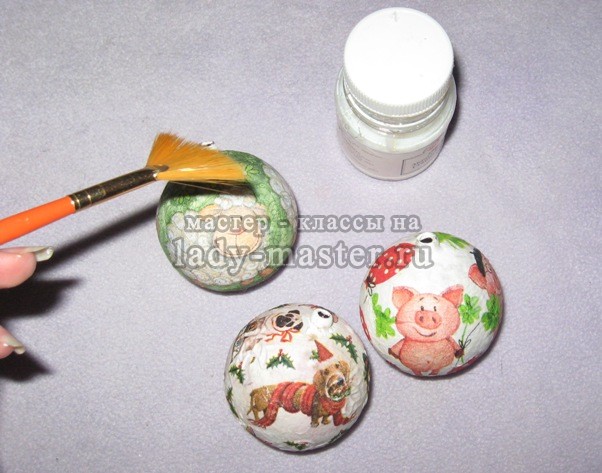
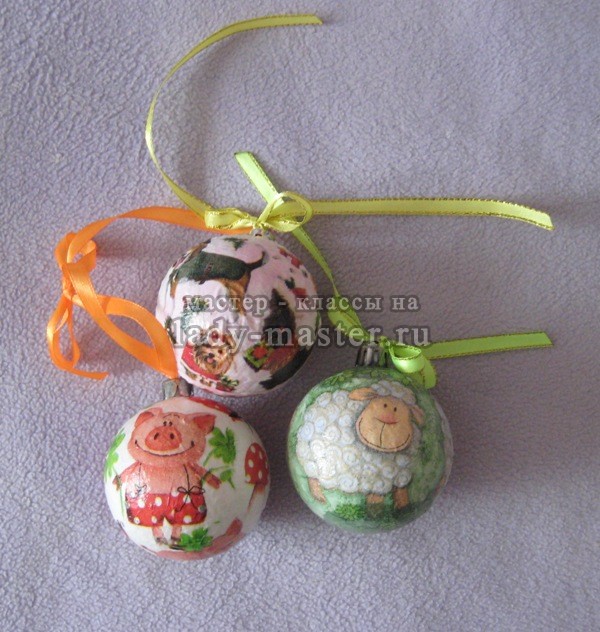
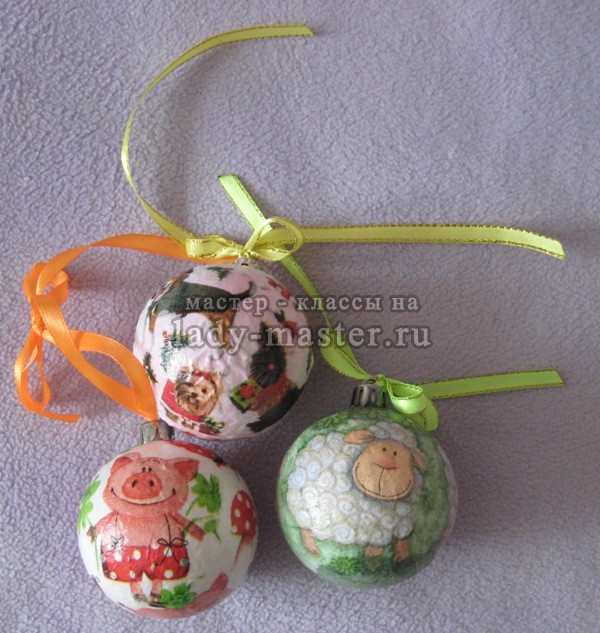
Apply the second layer, then the third and fourth. We dry each one. Now we cut off pieces of about 20 cm from the satin ribbons. We burn the ends, thread them through the loops of the balls and tie them in a bow near the loop. The balls are ready, you can decorate your New Year's guest. Thank you all for your attention and success in your work.
You can find many of them that over the years have lost their shine and former beauty, but they are dear to the heart, the hand does not rise to throw them away, and they lie in a box, waiting in the wings. But don’t despair, because you can give them new life, and they will again show off on the Christmas tree in all their beauty.
Besides decoupage Christmas decorations It is used not only for restoring old Christmas tree decorations, but also specifically for creating an aging effect. For these purposes they are used various techniques, techniques and materials that require certain knowledge and skills that can only be acquired through practice.
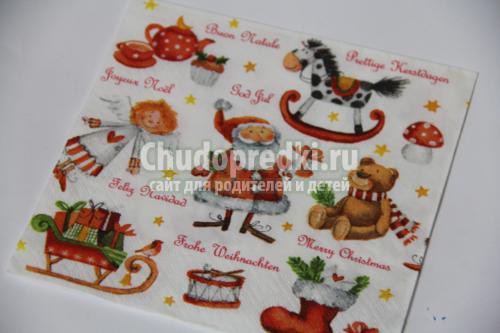
Today we will try to make a New Year theme using beautiful vintage napkins decoupage Christmas ball with your own hands.
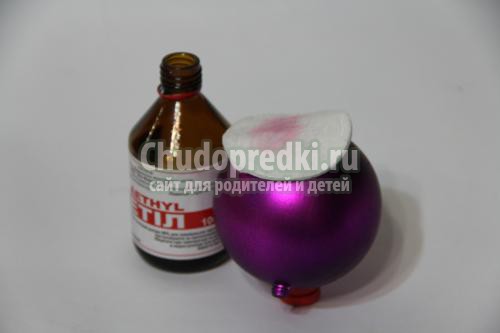
Decoupage Christmas balls- not a difficult matter at all. To begin, degrease the ball by wiping it with alcohol.
We select a drawing for decoupage that is New Year’s, so that the theme of the image is suitable for.
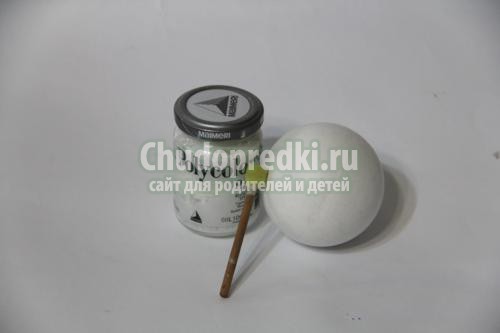
The ball is painted with white acrylic in several layers so that the terrible lilac color. It's best if you apply the paint with a foam sponge; it won't leave streaks or streaks.
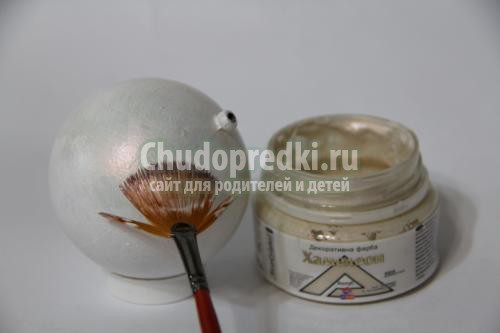
When the white color evenly covers the ball and dries, apply one layer of construction silver reflective paint “chameleon” on top and glue the napkin onto it.
Let's tear out several small images for decoupage from a napkin. Working with such a ball is not difficult, but very painstaking.
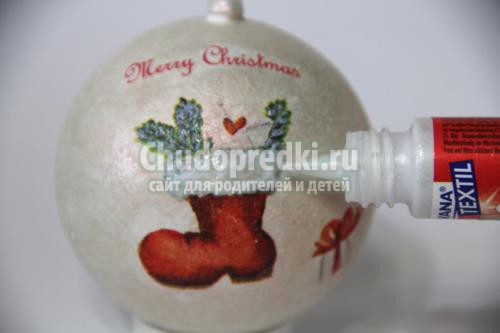
Use decoupage glue to glue the napkin fragments onto the Christmas ball. We place the pictures opposite each other. When the decoupage glue dries, the white background of the napkin will be completely invisible. It turns out that the images will also shine a little, since they are glued to chameleon paint.
Apply another layer of chameleon paint around all the fragments using a foam sponge. A thicker layer of paint will give the ball an iridescent shine. And, after light hits the surface, it will reflect any color and change its own.

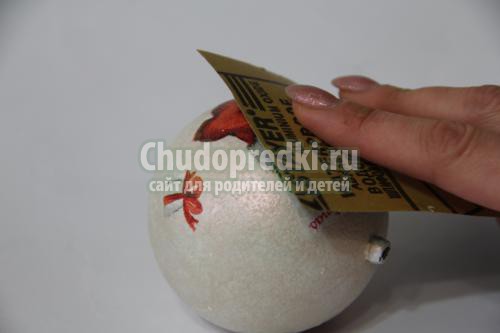
If appeared on the surface small pimples or unevenness - you just need to sand them down with sandpaper.
Since the glued fragments are usually shiny, they can also be painted with glitter, thereby adding New Year’s tints to the decoupage. We will paint small fragments with shiny glitters, you can use various colors: red, green, silver.
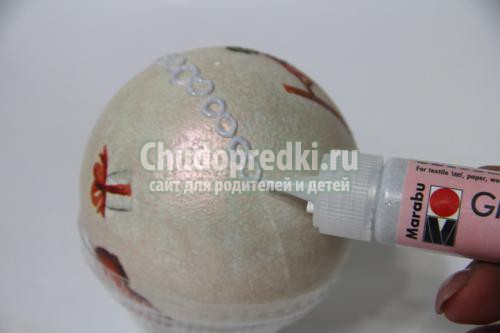
The seam between the two halves of the toy's hemispheres must be masked. Draw swirls of silver glitter along the seam. It turns out that the halves of the toy are connected by a silver chain.
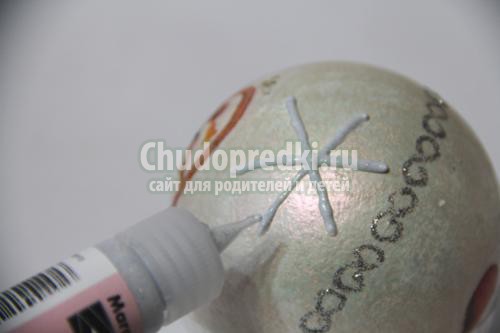
You can complement New Year's drawings with silver snowflakes. Draw several different snowflakes on either side of the decoupage.
When the glitter base dries - balloon with decoupage covered with several layers of acrylic varnish.
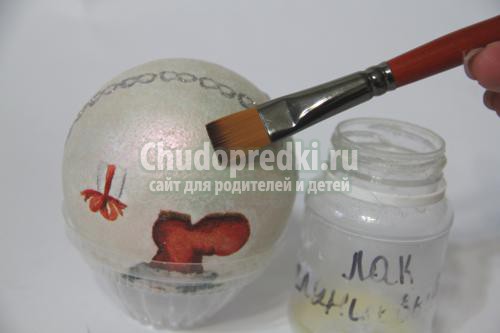
The loop is re-attached to the Christmas tree toy and a bow matching the color is glued to it. Decoupage of Christmas balls is completed, and you must admit, it was not difficult.

We are starting to prepare for the New Year's transformation. For this we will prepare:
- foam ball,
- acrylic primer,
- acrylic paints,
- acrylic matte varnish,
- glitter (you can use other dry glitter),
- New Year's motives on printout,
- semolina,
- glue "PVA", "super glue",
- sandpaper No. 800,
- foam sponge, brushes, several toothpicks, plastic plate,
- colorful ribbons, a hair pin and a matching metal part, which will serve as a fastener for ribbons (can be taken from an old Christmas tree decoration).
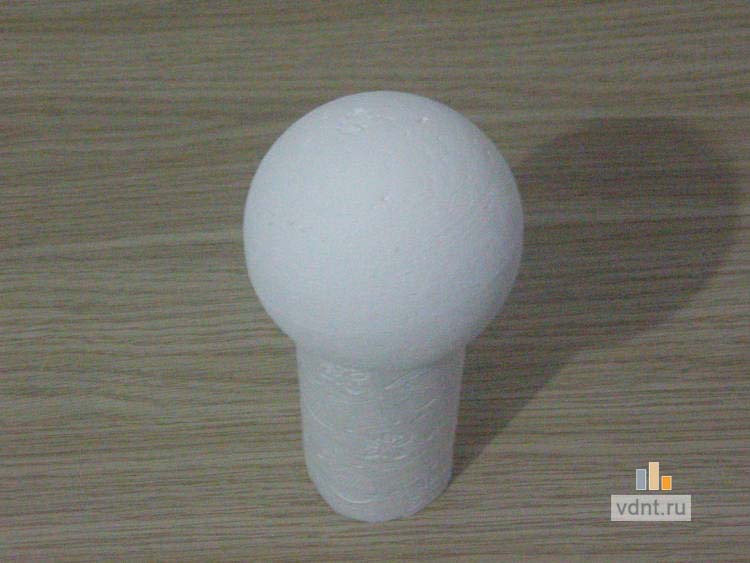
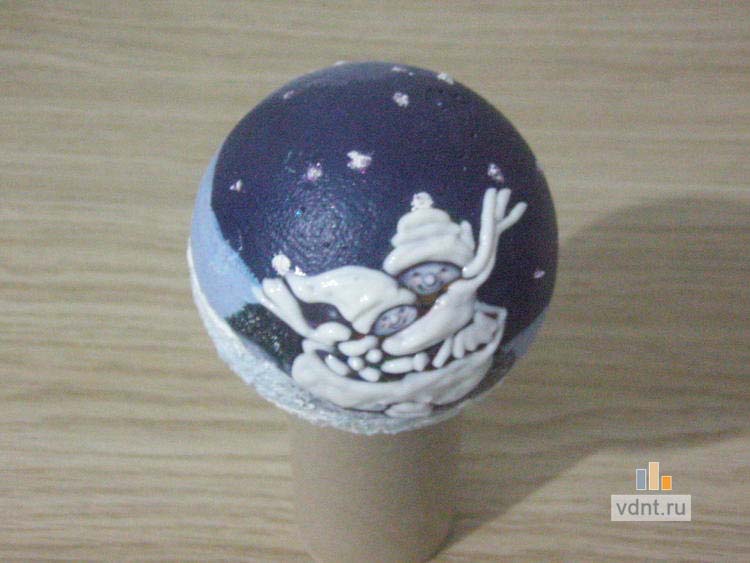
Lightly sand the workpiece and cover it with primer using a sponge. It is convenient to use a cardboard reel from a roll of napkins as a stand.
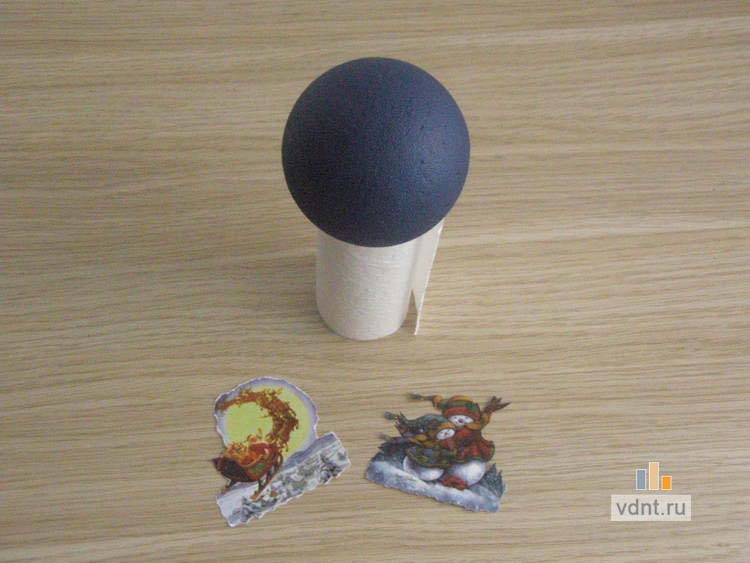
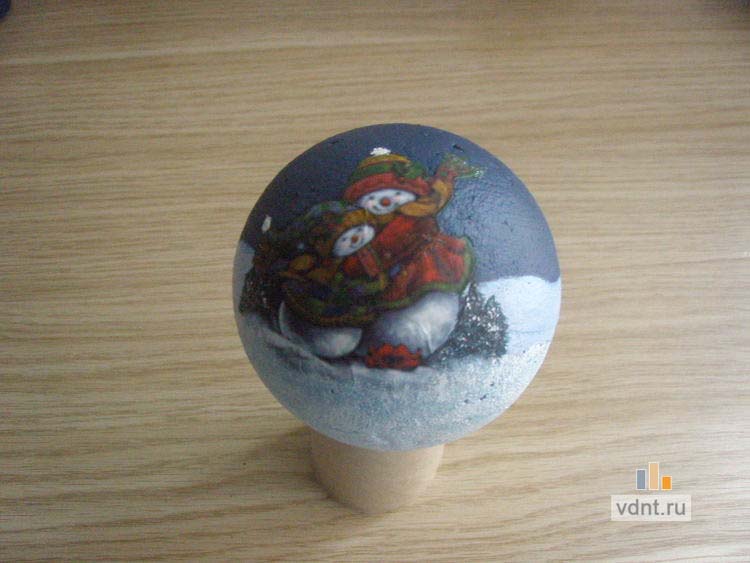
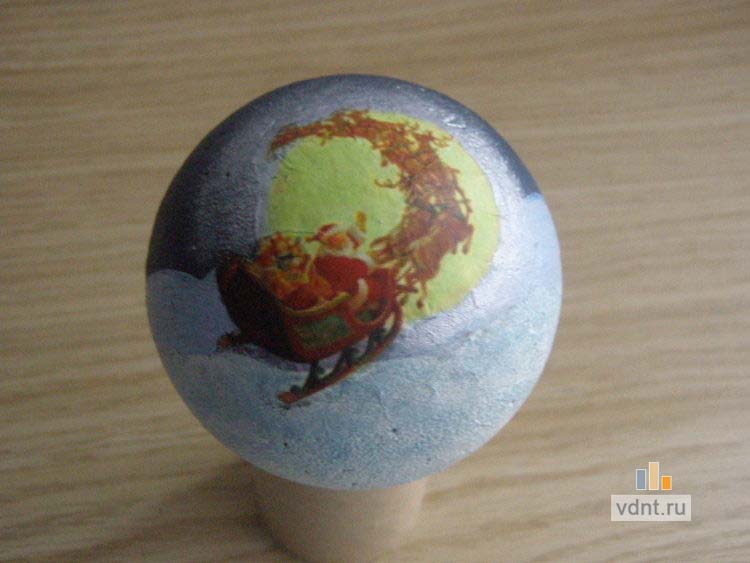
After drying, sand a little again sandpaper and paint in the main Blue colour. While the paint is drying, cut out 2 pictures and cover them with 3 layers of varnish with intermediate drying.
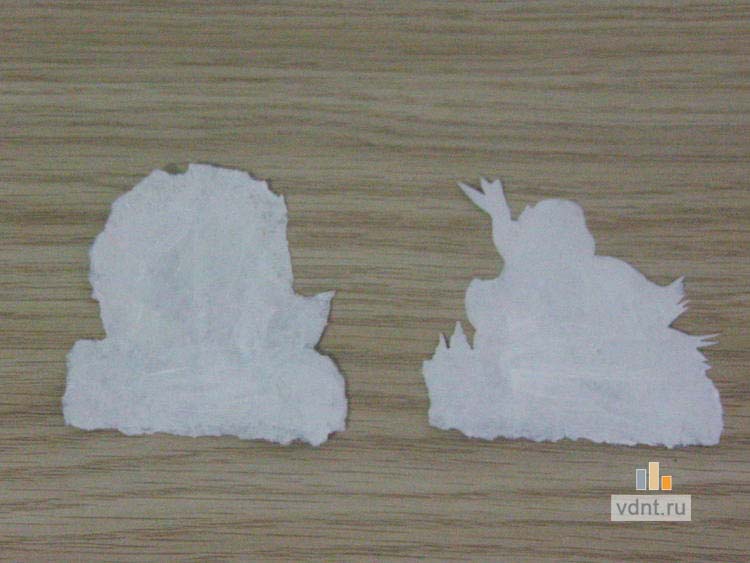
Now you need to thin out the printouts. For this reverse side We moisten the pictures with a wet sponge and begin to roll up a white layer of paper.
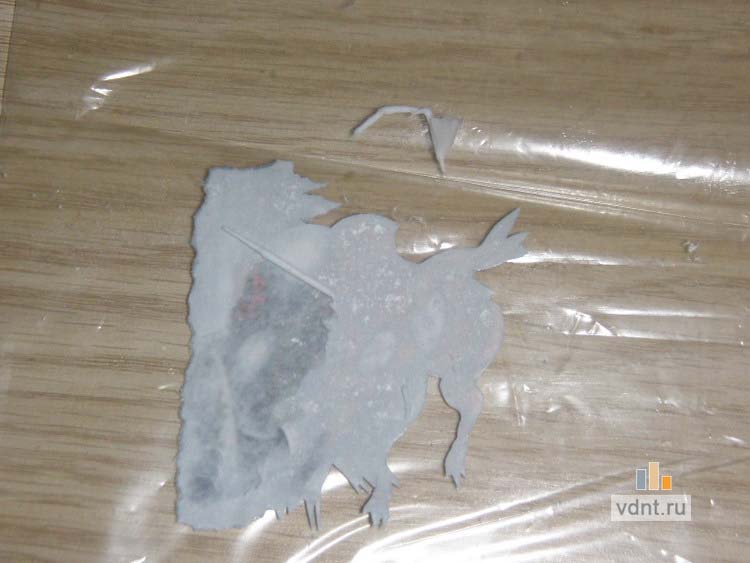
When a thin layer of color remains, wait for the motifs to dry and then paint the reverse side with white paint. We want the print to be subtle yet vibrant.
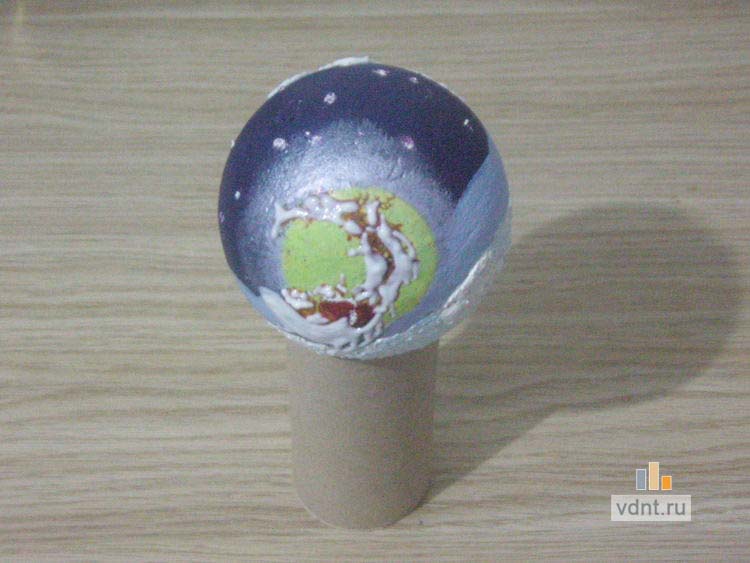
Let's try on pictures for the blank. Where necessary, we tear the motif to avoid creases on the round surface. We glue the pictures to the workpiece with PVA glue, pressing well and smoothing the surface.
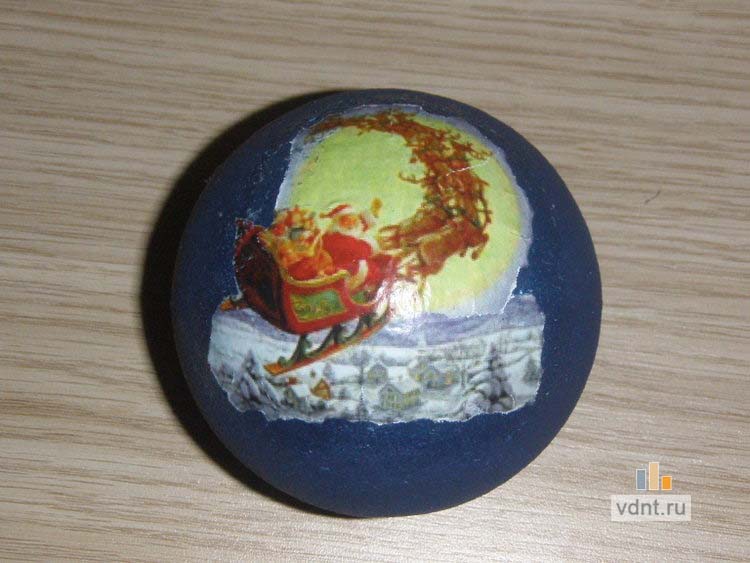
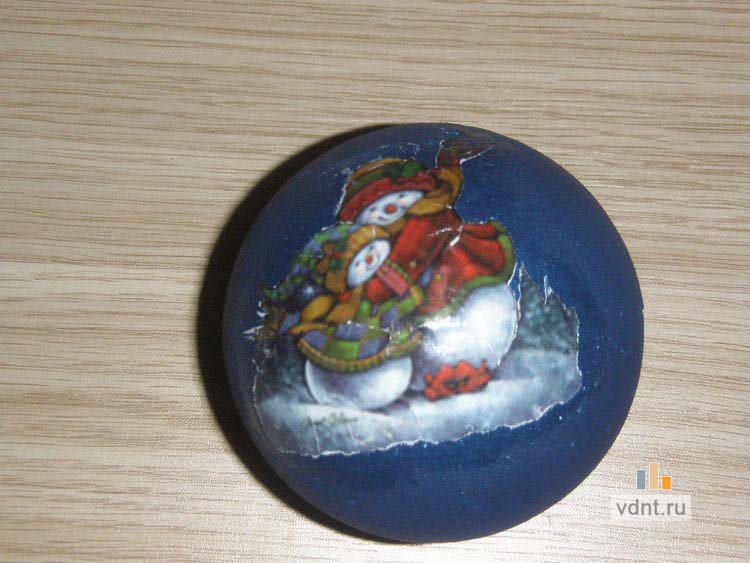
After the glue has dried, carefully sand the resulting folds and coat the entire ball with varnish. Next, paint the snow with white paint and add motifs where necessary.
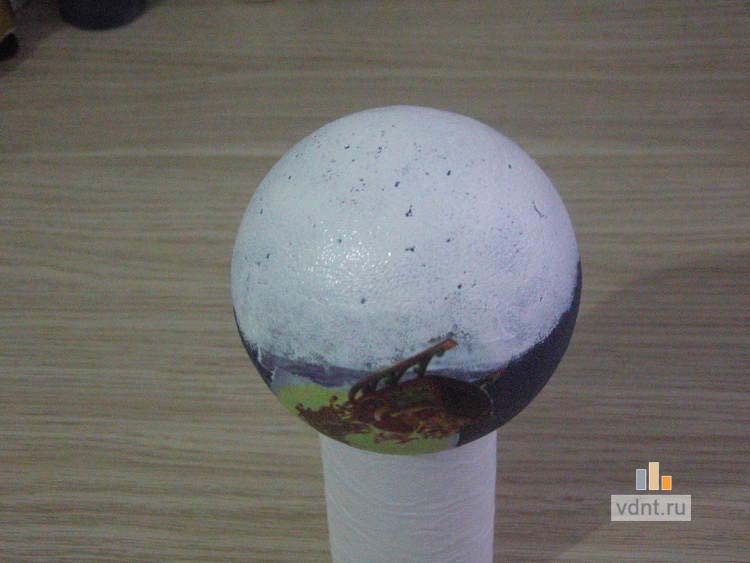
Mix semolina with white paint in a 1:1 ratio, add a couple of drops of PVA glue and get a thick mass, which we apply to the “snowy” surface. We also designate “stars”.
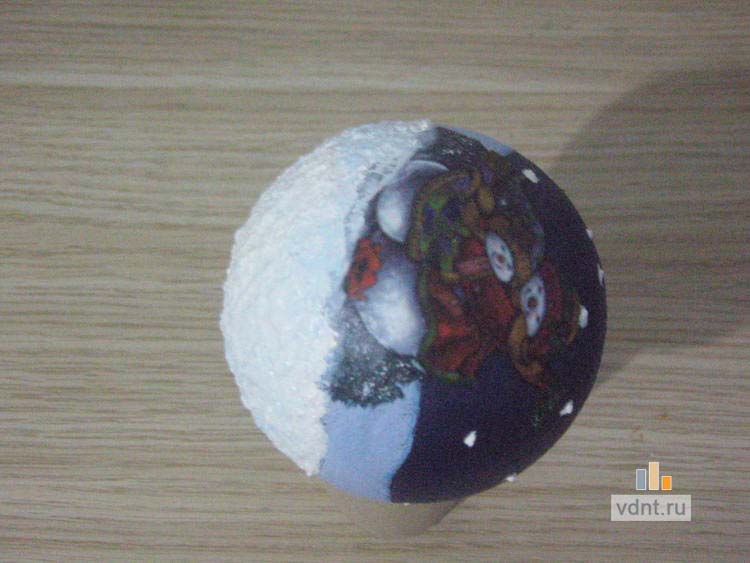
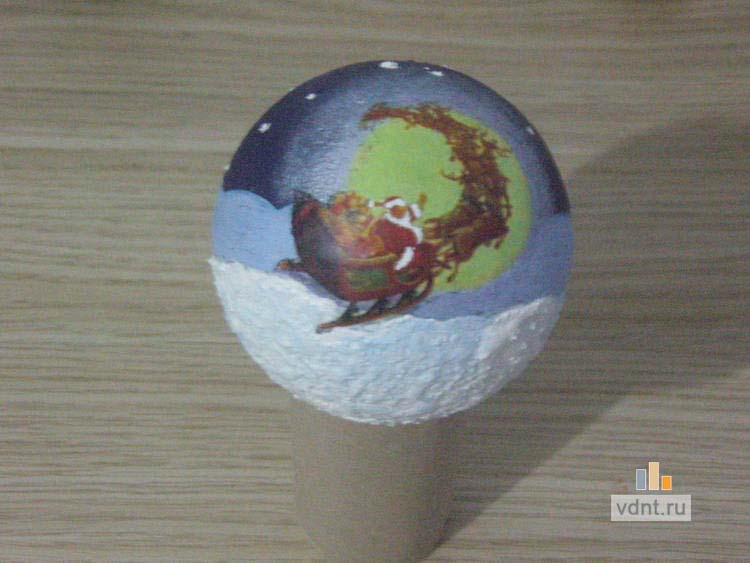
After the relief mass has completely dried, cover the entire ball with varnish mixed with glitter. We cover the “stars” especially carefully to give more shine.
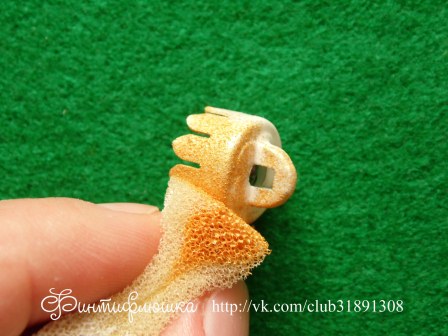
Now let's move on to the fastening. Let's make it from a hair pin and a metal piece.
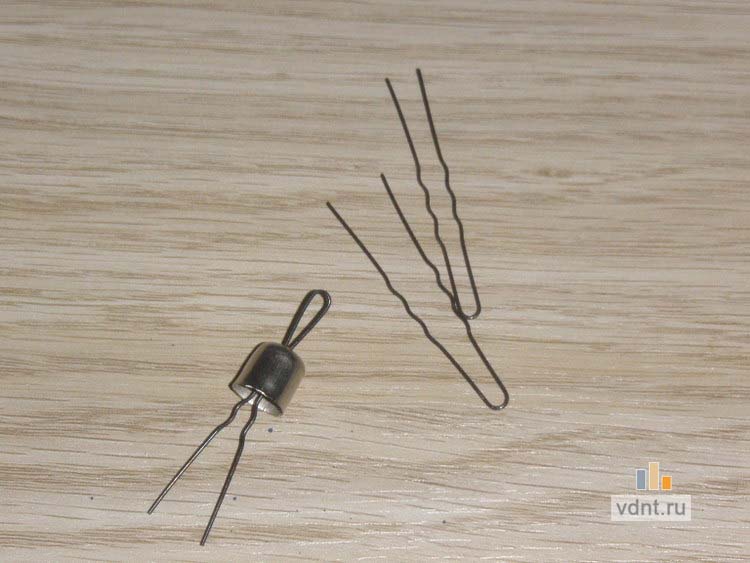
You can simply remove such a structure from an old Christmas tree ball. Lubricate the pin with super glue and insert it into the ball.
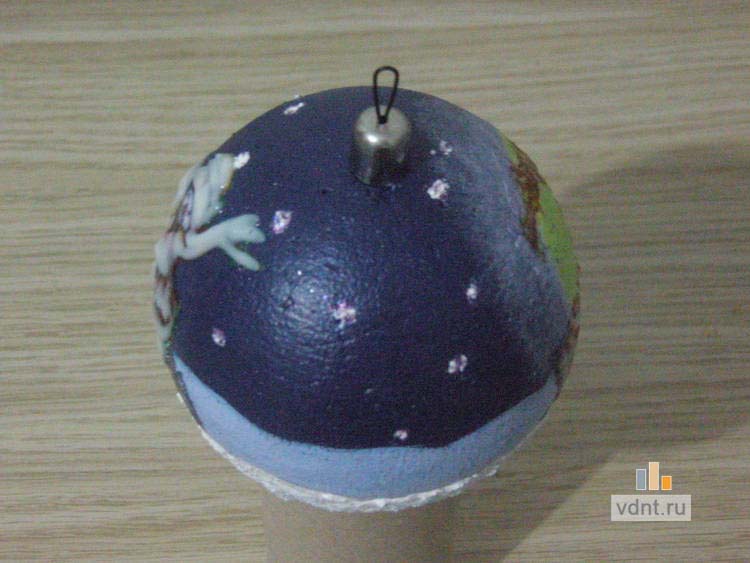
Selecting ribbons. Blue and white are very suitable colors for the motif. It is these ribbons that we will tie with a bow on the ball fastener. We also tie a thin golden thread so that the toy can be hung on the Christmas tree. The transformation of a foam blank into an unusual Christmas tree toy can be considered complete.
The New Year is approaching, and now is the time to think about holiday decoration interior and New Year tree. Of course, today without special problems You can buy any Christmas tree decoration in the store. But handmade Christmas decorations look much more interesting and original.
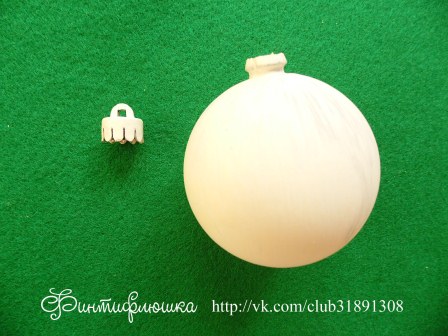
One of my latest crafting hobbies is decoupage. It is with this technique that I want to decorate the New Year’s tree ball. Let's see what I get as a result. As a basis for creating my original and unique Christmas tree decoration, I decided to use the most ordinary and cheapest plastic New Year's ball purchased at the nearest supermarket:
And it doesn’t matter to me at all what color it is - anyway, I’m going to transform it beyond recognition.
In addition to the Christmas ball, I prepared for work:

- a beautiful decorative napkin with a New Year's pattern,
- primer,
- acrylic paints (white and gold),
- brushes,
- a small piece of foam rubber,
- fine-grained sandpaper,
- scissors,
- decoupage glue,
- thick cotton thread white(I have cotton “Lilac”, but you can also take No. 10),
- PVA glue,
- gold glitter,
- glossy acrylic varnish,
- golden organza ribbon,
- gold lurex thread
Master class: how to make decoupage of a New Year's ball with your own hands
To begin with, I disassemble the Christmas ball into parts, which I then cover with a layer of white primer.
When the primer has dried, I apply three layers of white acrylic paint to the surface of the ball using a foam sponge. I let each layer dry thoroughly.
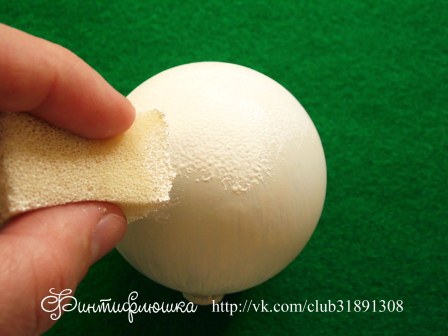
After making sure that the paint is completely dry, I sand the surface of the ball with fine-grained sandpaper. I really want the surface of the Christmas ball to be as smooth as possible.
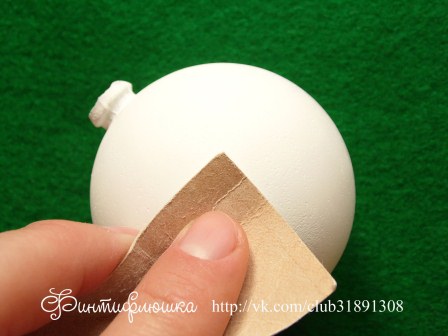
Of course, it was not possible to achieve a perfectly flat surface. Lack of patience and fear of overdoing it and rubbing a hole in the paint layer got in the way.
After removing the dust from the surface of the ball with a dry cloth, I begin decorating it using the decoupage technique.
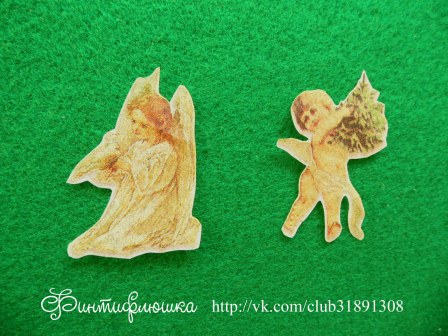
While several layers of acrylic paint were drying, I wasted no time - I cut out two designs from a decorative napkin and, having layered the napkin, left only the top paint layer for work.
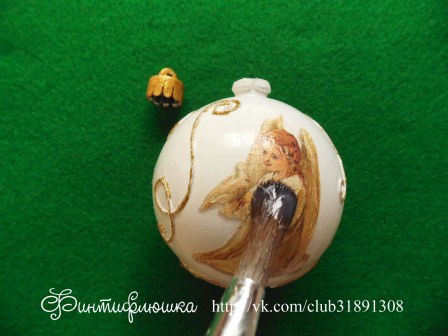
Now I glue the prepared napkin motifs to the surface of the ball on one side and the other, using decoupage glue and a wide flat synthetic brush.
For the first time in my decoupage practice, I manage to stick both motifs without a single crease. And this despite the fact that the surface of the product is not flat, but spherical! Perhaps the dusty and uninteresting work of preparing a smooth surface for decoupage was not in vain?
The pasted motifs must also be allowed to dry. While the glue dries, I paint the loop for attaching the New Year's ball with gold acrylic paint, again using a piece of foam rubber for this purpose.
Since the designs I chose do not cover the entire surface of the ball, I decided to decorate the empty spaces in an interesting and completely simple way.
I cut several pieces of white cotton thread 12 cm long. You can use longer pieces, but my ball is very small, so I don’t need long pieces of thread.
I wet each piece of thread with water one by one, and then cover it with PVA glue. The glue can be applied with anything: a brush, a sponge. But I prefer to do it with my fingers.
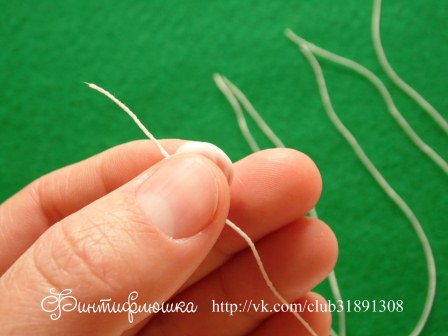
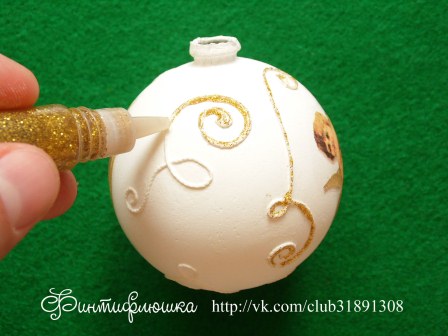
I lay the wet threads in the form of a pattern on the surface of the ball. My imagination was only enough for curls and loops, but in general, of course, the pattern can be absolutely anything.
In those places where the thread lies unevenly, I correct it with a thin flat brush dipped in water.
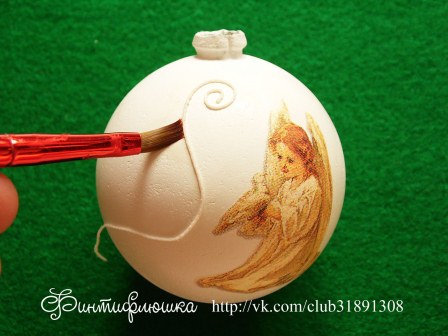
Thread patterns dry very quickly. Therefore, as soon as the last thread is laid, I begin to cover the curls with gold sparkles, drawing each element of the pattern with adhesive glitter.
Finishing the work of decorating the New Year's ball, I cover it with glossy acrylic varnish the ball itself and the loop for fastening. I apply the varnish in two layers with intermediate drying.
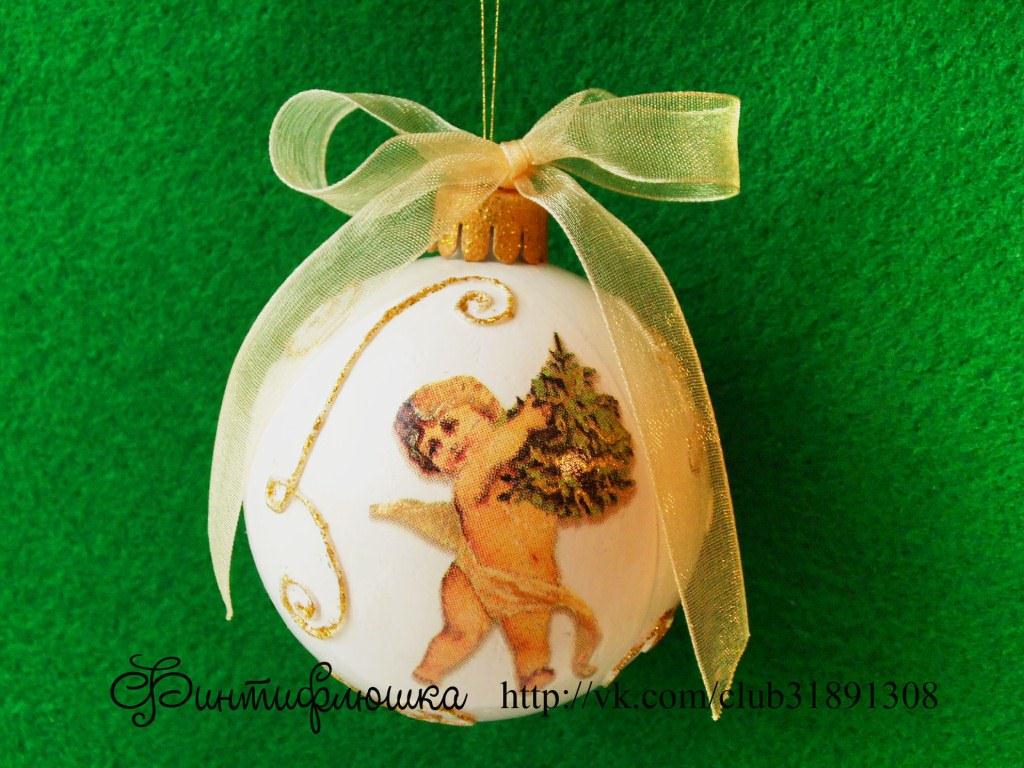
Having meticulously examined the finished ball, I decide to add a bow made of translucent golden ribbon to it. I tie the ribbon to a loop and thread a gold lurex thread through it so that the ball can be hung on christmas tree.
I admire the completely transformed cheap Chinese plastic ball and think about how small New Year's miracle Even a non-certified wizard can create it with his own hands.
To make something like this original jewelry for a New Year tree, you will need knowledge of such techniques as.
In this case, you can only have basic knowledge, since the entire process is described in the master class below. To make decoupage New Year's balls, first you need to prepare all the necessary materials.
So, what we need: PVA glue, the Christmas tree ball itself, acrylic matte and glossy varnishes, special glue for decoupage, white acrylic paint, brush suitable size, sponge and matching motifs on napkins.
![]()
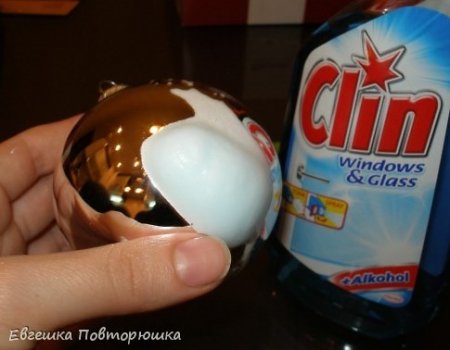
Let's start decoupaging Christmas tree balls by degreasing their surface. This procedure can be carried out using ordinary detergent for glass.

The fat-free ball should be covered with a layer of PVA glue, which we previously diluted with a little water.
Now important point, you need to catch the moment when the glue dries, but at the same time it is not yet transparent, that is, make sure that it does not dry out.
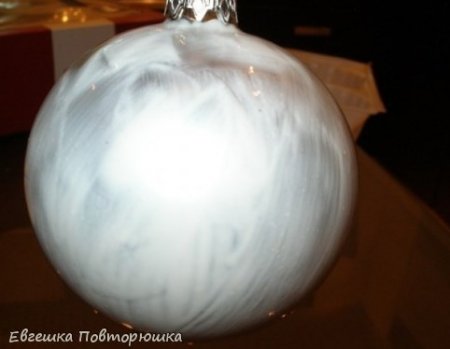
At this stage, using a sponge, apply white acrylic paint to the surface of the ball. The movements should be jerky, that is, as if we were drawing dots. If the technique is correct, the cracks we need will appear before our eyes.

After drying the work with a hairdryer, the cracks will increase in size.

The result should be a coating like this. Leave the ball hanging to dry.

We begin the next stage if the surface of the ball is completely dry. Now its surface must be covered with primer or matte varnish. After this, you can stick the previously selected motif onto the surface of the ball, using the decoupage method.
After the image has dried, cover the entire surface of the Christmas tree decoration with several layers of glossy varnish. Please note that each layer of varnish must be dried thoroughly.
You can add contrast to an image acrylic paints, at your own discretion.
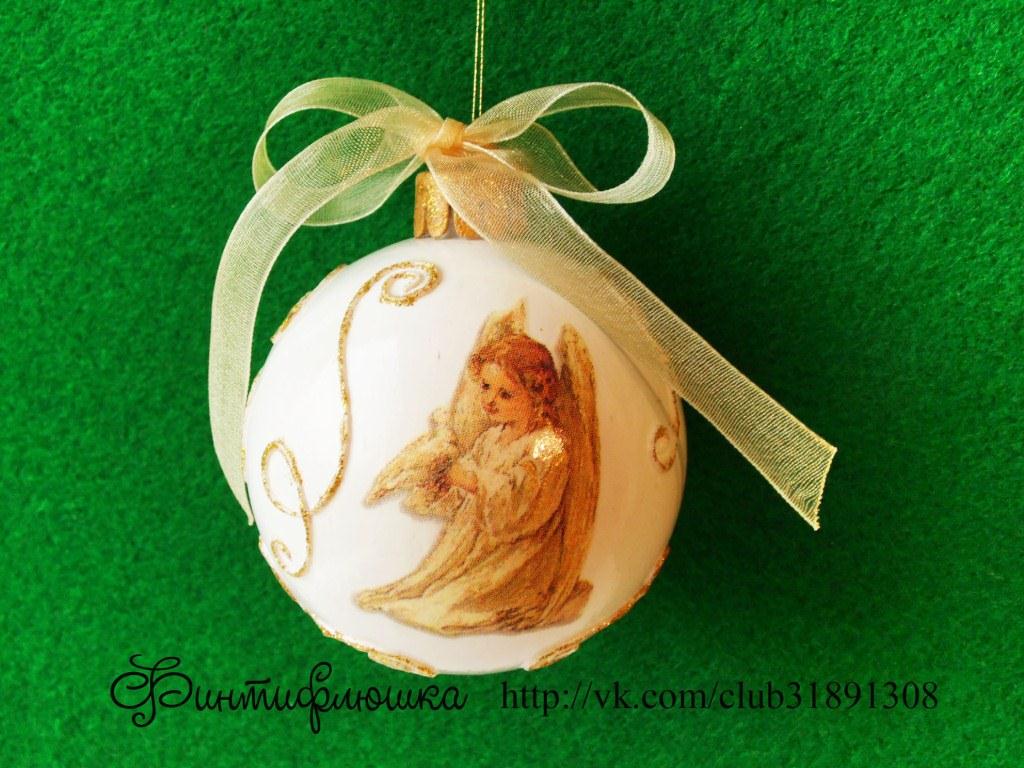
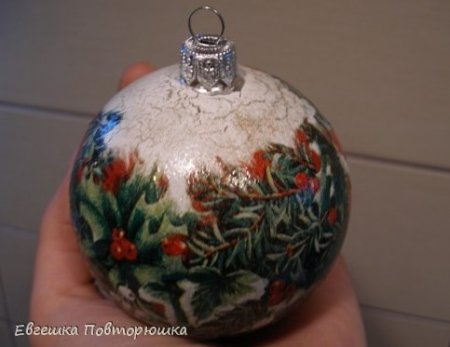
Here's what christmas balls can be obtained by following the recommendations of our master class.
The motives for this product can be chosen completely different, it can be New Year’s drawings, Christmas, children’s themed, or it can be completely unusual - use your imagination and imagination. Good luck in your creative endeavor!


